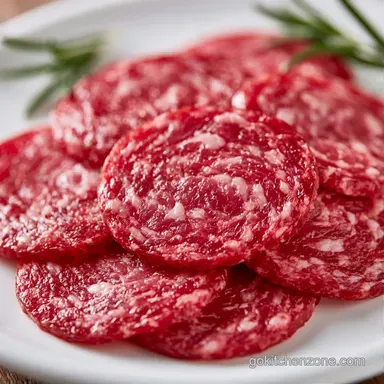
Homemade Wild Game Summer Sausage
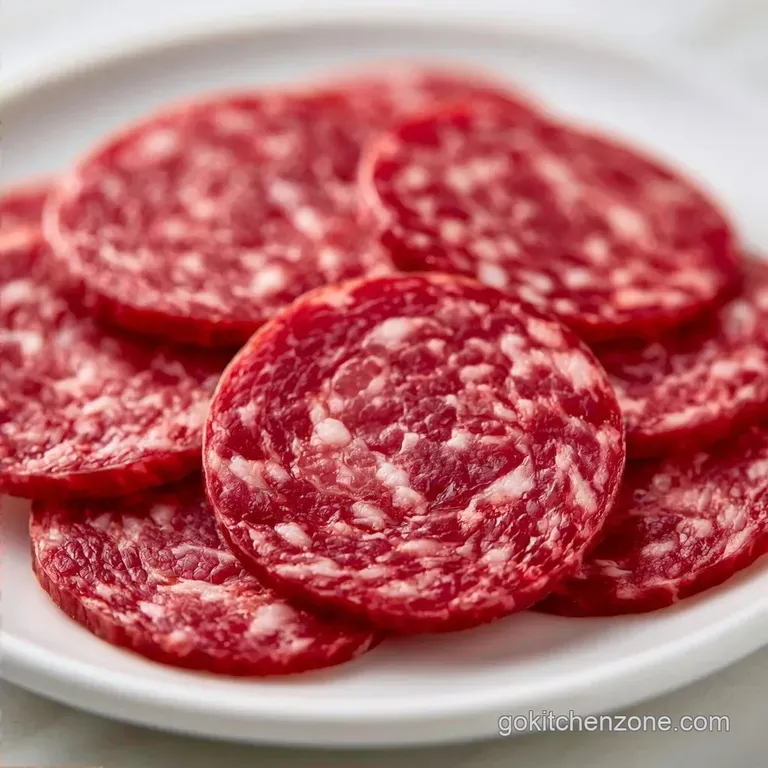
- Time: 30 min active + 48 hours chilling + 4 hours cooking
- Flavor/Texture Hook: Dense, snappy bite with a mahogany finish
- Perfect for: High protein meal prep and hunting season hosting
Nothing beats the aroma of garlic and smoked paprika hitting a hot pan to start my Sunday morning. I spent years attempting these using only lean venison, but the result was always a dry, gray block that felt like chewing on a pencil eraser.
It was frustrating to have such high-quality meat but a terrible final texture.
The turning point came when I started treating the fat ratio as a precise science. I discovered that wild game requires a generous amount of pork fatback to remain juicy, and that changed everything. Now, it has that professional, dense snap you typically only find at a specialty deli.
This recipe is a total game-changer for anyone seeking a dependable, protein-rich snack for office lunches or a festive charcuterie board. It is a simple process that requires only a few tools and a bit of patience during the curing stage.
Wild Game Summer Sausage That Actually Works
- The Fat Buffer: Lean game meat lacks the intramuscular fat of beef, so adding pork belly creates a barrier that keeps the protein from tightening into a rubbery mass.
- Cold Chain: Keeping the grinder throat and meat near freezing prevents "fat smear," which happens when fat melts and coats the lean meat instead of binding with it.
- The 48 Hour Rest: This window allows the curing salt to react with the proteins, which locks in the reddish pink color and lets the spices move deep into the meat.
| Method | Time | Texture | Best For |
|---|---|---|---|
| Stovetop | 4 hours | Slightly softer | Small batches |
| Oven | 4 hours | Consistent & firm | Large batches |
Gear You'll Actually Use
You don't need a professional smokehouse for this. A standard meat grinder with a coarse plate is the main tool. I use a stand mixer such as KitchenAid to get the bind right, though your hands work just as well. You'll also need a sausage stuffer to get the meat into the fibrous casings without leaving air pockets.
For the temperature check, a digital probe thermometer is a must. You're looking for a specific internal temp to ensure safety without overcooking the meat into a dry sponge.
What You'll Need
Let's review the purpose of each key component before we move to the full list.
| Ingredient | Role | If You Don't Have It |
|---|---|---|
| Pork Fatback | Moisture & Bind | Pork belly (trim excess skin) |
| Curing Salt | Color & Safety | None (essential for long-term storage) |
| Brown Sugar | Balance & Color | Maple syrup (use 2 tbsp) |
| Ice Cold Water | Emulsion | Very cold filtered water |
Complete Ingredient List
- 3 lbs lean wild game (Venison, Elk, or Wild Hog), cubed Purpose: Lean protein base for the sausage
- 1 lb pork fatback or pork belly, cubed Purpose: Stops the game meat from drying out
- 1 tbsp curing salt (Prague Powder #1) Purpose: Maintains color and prevents spoilage
- 1/4 cup brown sugar Purpose: Balances the salt and aids browning
- 2 tbsp kosher salt Purpose: Extracts proteins for a stronger bind
- 1 tbsp garlic powder Purpose: Provides a pungent base note
- 1 tbsp onion powder Purpose: Adds aromatic depth
- 1 tbsp smoked paprika Purpose: Gives it the characteristic smoky flavor
- 1 tsp freshly cracked black pepper Purpose: Offers a subtle heat
- 1/2 cup ice cold water Purpose: Helps form the tacky emulsion
- 3 inch fibrous casings Purpose: Retains shape during slow cooking
According to USDA FoodData, lean game meats are much lower in fat than domestic pork, making the addition of fatback absolutely necessary.
The Numbers Game
Right then, let's talk precision. To get this right, you need to hit three specific checkpoints. First, your grinder parts must be in the freezer for 30 minutes. Second, the internal temperature of the meat during mixing should stay below 40°F (4°C).
Third, the final internal cook temperature must hit 160°F (71°C) to be safe.
This recipe yields 20 servings. The prep takes 30 minutes, and the cooking takes 4 hours, but the total time is about 2 days and 4.5 hours because of the mandatory cure.
The Process step-by-step
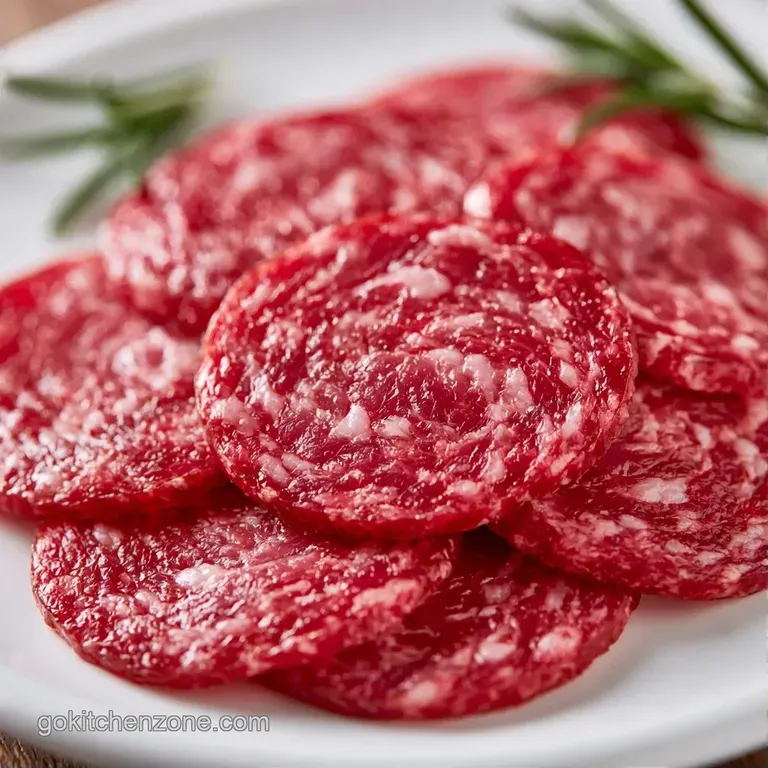
Phase 1: The Cold Grind & Mix
- Place your grinder throat and blades in the freezer for 30 minutes. Note: This prevents the fat from melting
- Grind the wild game and pork fat together using a coarse plate.
- Add the curing salt, brown sugar, kosher salt, and all spices to the ground meat.
- Slowly pour in the ice cold water while mixing by hand or a stand mixer on low. Mix until the meat becomes tacky and sticks together.
Phase 2: The Quick Cure Rest
- Place the seasoned meat in a bowl.
- Cover tightly with plastic wrap, pressing it directly onto the meat to remove air.
- Refrigerate for 48 hours. Note: This allows the cure to stabilize the color
- Let the meat rest for the full 48 hours so the spices permeate the lean game meat.
Phase 3: Stuffing and Shaping
- Transfer the chilled meat into the sausage stuffer.
- Stuff the meat into the 3 inch fibrous casings until they are firm but not bursting.
- Tie off the ends with butcher's twine every 3-5 inches.
Phase 4: The Slow Cook
- Place sausages in a smoker or oven at 225°F (107°C).
- Cook for 4 hours until the internal temperature hits 160°F.
Chef's Note: Always fry a small "test patty" of the meat before stuffing. Fry a marble sized piece in a pan to check the salt level. It's a lot easier to add pepper to a bowl than to a finished log of sausage.
Fixing Common Sausage Issues
When the meat doesn't bind, you end up with a crumbly texture that feels more like ground beef than a sausage. This usually happens because the meat got too warm during the grind or you didn't mix it long enough to get that "tacky" feel.
If the casings split during cooking, you likely stuffed them too tightly. Leave a tiny bit of room for the meat to expand as the proteins contract under heat.
Fixing a Crumbly Texture
If the mix feels loose, add another tablespoon of ice cold water and mix for 2 more minutes. This helps the proteins bond.
Preventing Casing Splits
Avoid over stuffing. The meat should feel firm, but you should still be able to roll the casing between your fingers.
Managing Gray Color
Gray meat usually means the curing salt was skipped or the meat stayed too warm. Ensure you use Prague Powder #1 and keep everything chilled.
| Problem | Fix |
|---|---|
| Crumbly texture | Mix longer with ice water |
| Split casings | Stuff less tightly |
| Gray color | Check curing salt amount |
Storing Your Harvest
These logs keep in the fridge for 2 weeks if wrapped tightly in parchment paper. For longer storage, they freeze for 6 months. I prefer freezing them in vacuum sealed bags to prevent freezer burn on the ends.
To reheat, slice the sausage and sear it in a cast iron skillet for 3 minutes per side. This brings back the snap of the casing and renders the pork fat, making it glossy.
For a zero waste approach, don't toss the leftover casing ends. If you have a bit of meat mix left over, form it into small patties and freeze them for quick breakfast sliders.
Twists on the Classic
For those who want more heat, I suggest the "Spicy Hunter" version. Add 2 tablespoons of minced chipotle in adobo and a teaspoon of cayenne to the mix. This pairs well with the richness of the pork fat.
If you're using different game, this works brilliantly as an elk summer sausage. Elk is slightly sweeter than venison, so you can actually reduce the brown sugar by a tablespoon.
For a different cooking method, you can try oven baked venison summer sausage if you don't have a smoker. You'll miss the wood fire aroma, but the texture remains the same.
For a firmer set:
Chill the stuffed logs for 12 hours before cooking.
For more tang:
Replace half the water with apple cider vinegar.
For a cheesy bite:
Fold in 1 cup of cubed sharp cheddar after the 48 hour rest.
Ways to Serve It
The most classic way to enjoy Wild Game Summer Sausage is on a wooden board. Pair it with sharp cheddar, pickled red onions, and a grainy Dijon mustard. The acidity of the pickles cuts right through the density of the meat.
I also love using it in a high protein breakfast. Slice it thin and fry it alongside two eggs and some sautéed kale. It's a smarter way to start the day and keeps you full until late afternoon, which is perfect for a busy workday.
Finally, try it in a rustic sandwich. Use a toasted baguette, a smear of cream cheese, and thin slices of the sausage. It's an easy, portable lunch that actually tastes like something from a deli.
Sausage Truths
You might hear that you need to smoke meat for days to get a "real" summer sausage. That's not true for this style. The curing salt and the 48 hour rest do the heavy lifting for flavor and safety, while the 4 hour cook handles the texture.
Another common idea is that searing the outside "seals in" the juices. In reality, the moisture loss happens regardless of the sear. The browning just adds a layer of flavor that complements the smoked paprika.
Recipe FAQs
How to prepare the grinder for this recipe?
Chill the grinder throat and blades in the freezer for 30 minutes. This prevents the pork fat from melting during the grinding process.
Is it true that the meat only needs to rest for a few hours?
Not true. You must refrigerate the seasoned meat for a full 48 hours so the curing salt stabilizes the color.
Which wild game meats work best for this sausage?
For the best results, use cubed lean venison, elk, or wild hog. If you enjoyed balancing these lean meats, you'll also love our ground meat blend.
What is the best way to reheat the finished sausage logs?
Sear sliced pieces in a cast iron skillet for 3 minutes per side. This brings back the snap of the casing and renders the fat.
Can these sausages be kept in the freezer?
Freeze them in vacuum sealed bags for up to 6 months to prevent freezer burn. They also keep in the fridge for 2 weeks if wrapped in parchment paper.
Wild Game Summer Sausage Meal Prep