Mediterranean Hot Chickpea Pitas
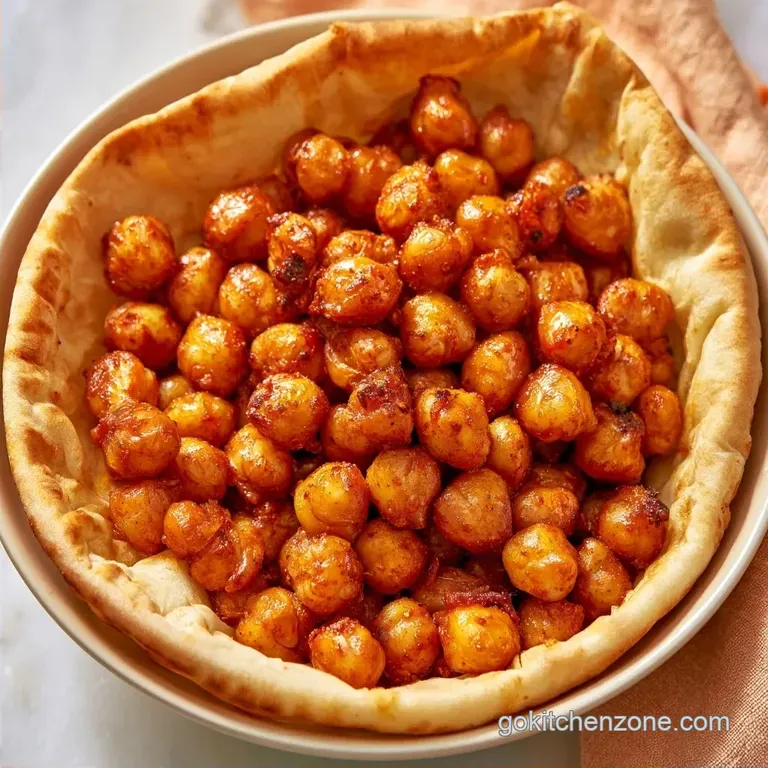
- Time: 5 min active + 20 min roasting
- Flavor/Texture Hook: Shattering crispy chickpeas against cool, zesty cream
- Perfect for: A fast weeknight dinner or high protein lunch
Hot Chickpea Pitas Specs
Why do we always treat chickpeas like a cold salad? Most of the time, they're just tossed with lemon and parsley in a bowl, which is fine, but it misses a huge opportunity. When you roast them, the water evaporates and the skins crisp up, creating a savory crunch that changes the whole experience.
The smell of toasted cumin and smoked paprika hitting the oven air is enough to make anyone hungry. It's a deep, warm aroma that promises something much more satisfying than a cold wrap. These Hot Chickpea Pitas bring that warmth and pair it with a sharp, cooling sauce to keep things balanced.
You can expect a meal that feels fancy but takes almost no effort. It's all about the contrast, from the mahogany colored beans to the bright red cabbage and crisp cucumber. Let's get into how to make it happen.
Why This Version Works
High Heat: Roasting at 400°F pulls moisture out of the chickpeas quickly. This creates a shattering crust rather than a soft, steamed bean.
Acid Balance: The lemon juice in the yogurt cuts through the earthy weight of the cumin. This keeps the Hot Chickpea Pitas tasting bright and fresh.
Temperature Play: Putting hot roasted beans into a cold sauce creates a dynamic mouthfeel. It's the same trick restaurants use to make simple ingredients feel more expensive.
| Method | Time | Texture | Best For |
|---|---|---|---|
| Oven Roast | 20 min | Shattering crisp | Large batches |
| Pan Fry | 10 min | Softly browned | Single servings |
| Air Fryer | 12 min | Very crunchy | Maximum speed |
This approach works because we aren't just heating the beans, we're changing their structure. Serious Eats' testing on roasting vegetables shows that removing surface moisture is the only way to get a real sear.
The Ingredient List
To prepare these Hot Chickpea Pitas, you will need a few pantry basics and some fresh ingredients. I recommend a full-fat Greek yogurt for the sauce, as it provides a richer consistency that stands up well to the seasoned chickpeas.
| Ingredient | Role | If You Don't Have It |
|---|---|---|
| Chickpeas | Protein and bulk | Cannellini beans |
| Greek Yogurt | Cooling base | Sour cream or vegan mayo |
| Lemon Juice | Brightness/Acid | Apple cider vinegar |
| Smoked Paprika | Depth and color | Ancho chili powder |
For the Hot Chickpeas
- 1 can (15 oz) chickpeas, drained and patted dry Why this? Dried beans roast better than wet ones.
- 2 tbsp olive oil
- 1 tsp smoked paprika
- 1 tsp ground cumin
- 1/2 tsp garlic powder
- 1/4 tsp salt
- 1/4 tsp black pepper
For the Zesty Sauce
- 1/2 cup Greek yogurt
- 1 tbsp lemon juice
- 1 clove garlic, minced
- 1 tbsp fresh parsley, chopped
For Assembly
- 4 (6 inch) pita breads
- 1 cup shredded red cabbage
- 1/2 cup diced cucumber
- 1/2 cup cherry tomatoes, halved
| Original Ingredient | Substitute | Why It Works |
|---|---|---|
| Greek Yogurt | Full fat Vegan Mayo | Similar creaminess, though slightly heavier |
| Red Cabbage | Shredded Kale | Adds a similar crunch and earthy tone |
| Pita Bread | Large Flour Tortilla | Wraps the filling well, though lacks the pocket |
Be sure not to skip the step of patting the beans dry. If they remain damp, they will steam in the oven instead of roasting, and you'll miss out on the signature crunch that makes these Hot Chickpea Pitas so satisfying.
Essential Kitchen Tools
No special equipment is necessary. A standard baking sheet and some parchment paper are all you'll need. Using a liner prevents oil and spices from sticking to the pan, sparing you from heavy scrubbing later.
I recommend a small whisk for the sauce to achieve a smoother yogurt consistency and a more even blend of lemon juice. A fork works as a suitable alternative if you don't have one.
To prepare the pitas, use a dry skillet or frying pan. Warming them for just a few seconds makes them more pliable, preventing them from cracking as you open them.
Step by step Assembly
Phase 1: Achieving the Golden Roast
- Heat your oven to 400°F (200°C).
- Spread the dried chickpeas across a baking sheet lined with parchment.
- Drizzle them with olive oil and toss with paprika, cumin, garlic powder, salt, and pepper until evenly coated.
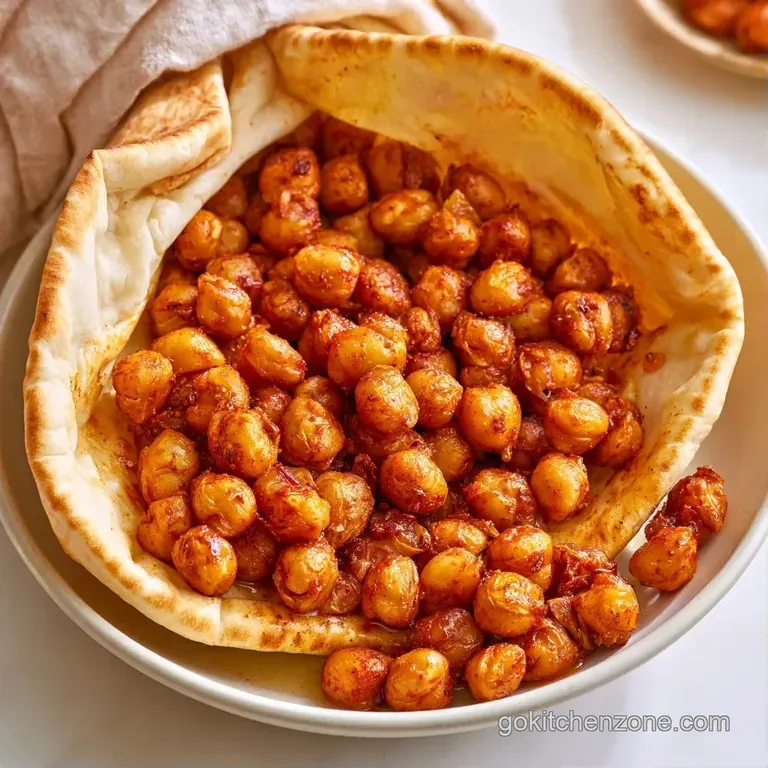
- Roast for 20 minutes, shaking the pan at the midpoint, until the chickpeas are mahogany colored and have a shattering crust.
Phase 2: Whipping the Cooling Sauce
- In a small bowl, whisk the Greek yogurt, lemon juice, and minced garlic together.
- Stir in the chopped parsley until the sauce becomes velvety and well combined. Note: The garlic should be minced very fine so you don't get raw chunks.
Phase 3: Final Assembly
- Warm the pitas in a dry pan for 30 seconds per side until pliable and warm to the touch.
- Slice the pitas open to create pockets.
- Add a generous dollop of zesty sauce inside each pita.
- Stuff with the hot chickpeas, followed by the shredded cabbage, cucumbers, and tomatoes.
Chef's Tip: For a richer flavor, stir a tiny pinch of cinnamon into the chickpea seasoning. It won't make it sweet, but it adds a woody note common in Mediterranean cooking.
Why This Version Works
The key to these Hot Chickpea Pitas is the moisture control. Many people just throw a can of beans in the oven, but the residual liquid creates steam. This is why we pat them dry.
By focusing on the contrast between the 400°F roasted beans and the chilled yogurt, we create a meal that feels balanced. The cabbage and cucumber provide a fresh snap that cuts through the richness of the oil and yogurt.
Fixing Common Issues
Avoiding Mushy Chickpeas
This usually happens when the beans aren't dried enough or the oven isn't hot enough. If your chickpeas come out soft, it's likely because they steamed instead of roasted. Next time, use a paper towel to get every drop of water off the beans.
Preventing Pita Tears
Pitas can be stubborn and rip right down the side if they're cold. Warming them in a pan for 30 seconds softens the gluten in the bread. This makes them flexible enough to hold all the Hot Chickpea Pitas fillings without splitting.
Fixing Bland Sauce
If the sauce tastes flat, you probably need more acid. Add an extra squeeze of lemon juice or a tiny drop of apple cider vinegar. The acid wakes up the garlic and yogurt, making the sauce pop against the spiced beans.
Keeping it Fresh
Store any remaining roasted chickpeas in a tight-lidded container in the fridge for up to 3 days. They may lose some crispness over time, but you can restore the texture by heating them in a pan for 2 minutes.
The zesty sauce remains fresh in the refrigerator for 4 days. I often prepare a double portion because it's an excellent dip for cucumber or carrot sticks. For meal preppers, this makes a fantastic base for a Chickpea Salad Bento Box if you want a cold meal for the office.
To prevent food waste, turn any extra cabbage or tomatoes into a simple side salad. If there are a few chickpeas left on your baking sheet, serve them on toast with a fried egg for a speedy breakfast.
Customizing Your Pita
To make this vegan, replace the Greek yogurt with a tahini-based sauce or thick vegan mayo. Tahini introduces a nuttier profile that complements the roasted legumes perfectly.
To bring some heat, stir a teaspoon of sriracha or chopped jalapeños into the yogurt sauce. You can also substitute the smoked paprika with chipotle powder for a more intense, smoky burn in your Hot Chickpea Pitas.
For a "Smashed" variation, lightly press some of the roasted chickpeas with a fork before stuffing them into the pita. This creates a denser texture that is less likely to spill out of the bread. If you enjoy this meal, you might also like my Veggie Hummus Wraps for another quick, plant-based lunch.
Decision Shortcut:
- For more crunch: roast the chickpeas for an extra 3 minutes.
- For a creamier feel: increase the yogurt by 2 tablespoons.
- For a tangier bite: add a teaspoon of capers to the sauce.
What to Serve Alongside
These Hot Chickpea Pitas are pretty filling on their own, but a side of pickled red onions adds a great acidic punch. The bright pink color also makes the plate look more vibrant.
A simple side of olives and feta cheese completes the Mediterranean vibe. If you're looking for a drink, a cold mint lemonade or a sparkling water with a slice of cucumber cleanses the palate between bites.
This meal is a great way to introduce more plant based proteins into your week without feeling like you're sacrificing flavor. It's a feel good dish that keeps you full and satisfied.
Recipe FAQs
How do I make the chickpeas crispy?
Roast them at 400°F for 20 minutes on a parchment-lined baking sheet. Pat the canned chickpeas completely dry before adding oil to ensure they develop a shattering crust.
Is it true that chickpeas spike insulin?
Actually, no. They have a low glycemic index and provide steady energy thanks to their high fiber and protein content.
Can I reheat these pitas for lunch?
Warm the roasted chickpeas in the oven to restore their crunch. Keep the yogurt sauce and fresh vegetables separate until assembly to prevent the pitas from getting soggy.
What is a good alternative to Greek yogurt for the sauce?
Use a thick cashew cream or tahini to achieve a similar creamy consistency. If you enjoy these bold flavor profiles, see how we balance spices in our chicken fajita pasta.
Hot Chickpea Pitas in 25 Minutes