Easy Keto Peanut Butter Cookies: Soft and Nutty
- Time: Active 10 minutes, Passive 12 minutes, Total 22 minutes
- Flavor/Texture Hook: Velvety peanut center with a buttery, salt kissed finish
- Perfect for: Quick weeknight treats or low carb meal prep
- Secrets for Easy Keto Peanut Butter Cookies
- Essential Metrics for Perfect Batches
- Selecting the Best Flavor Elements
- Vital Tools for Baking Success
- The Five Stages of Preparation
- Avoiding Common Texture Pitfalls
- Creative Swaps and Flavor Twists
- Preserving Freshness and Quality
- Inspiring Ideas for Serving
- Common Kitchen Myths
- Storage and Zero Waste
- Recipe FAQs
- 📝 Recipe Card
Secrets for Easy Keto Peanut Butter Cookies
We have all been there, standing in the kitchen, staring at a tray of what were supposed to be cookies, but instead look like parched desert sand. You take a bite, and it immediately disintegrates into a dry, chalky powder that leaves you reaching for a gallon of water. It is a classic low carb tragedy.
Most people think cutting out the sugar and flour means sacrificing that chewy, soul satisfying texture, but the real issue is usually a lack of moisture binding and improper fat ratios.
This recipe is the specific fix for that "sawdust" texture. We are going to lean into the natural oils of the peanut butter and use room temperature ingredients to create a silky emulsion that holds together.
You won't find any complicated steps here, just a straightforward method that results in a cookie so velvety and rich that your non keto friends will be asking for the "secret" ingredient.
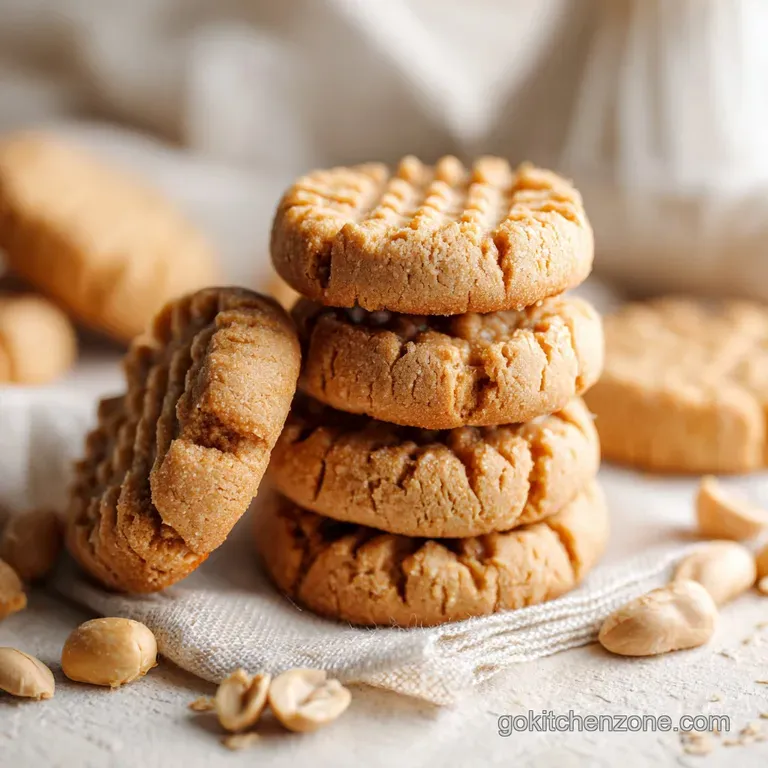
The aroma of toasted peanuts hitting the warm oven air is something you have to experience. As these bake, the kitchen fills with a scent that is deeply nostalgic and cozy. When you finally pull them out, the edges are firm and bronzed, while the centers still look a bit soft that is the sweet spot.
Let's talk about why this specific approach works so well for your cravings.
Essential Metrics for Perfect Batches
Emulsification: Mixing the egg at room temperature ensures it bonds with the fats in the peanut butter rather than curdling, creating a smooth, cohesive dough.
Crystallization: The erythritol provides a slight structural "snap" once cooled, giving the cookie a traditional feel without the sugar crash.
Fiber to Fat Ratio: Almond flour adds the necessary bulk and fiber to absorb excess peanut oil, preventing the cookies from spreading into one giant puddle.
Steam Release: The fork pressed cross hatch pattern isn't just for looks; it creates channels for steam to escape, which helps the cookies set properly in the middle.
| Thickness | Internal Temp | Rest Time | Visual Cue |
|---|---|---|---|
| 1.5 cm | 75°C | 15 minutes | Edges turn golden brown |
| 1 cm | 77°C | 12 minutes | Surface looks matte |
| 2 cm | 72°C | 20 minutes | Center resists slight pressure |
Choosing the right thickness is a personal call, but I find that 1.5 cm is the gold standard for that "fudgy in-the middle" experience. If you go too thin, you risk a brittle snap; too thick, and the middle might feel a bit too much like raw dough.
These little details are what turn a basic snack into a feel good treat that actually hits the spot.
| Ingredient | Science Role | Pro Secret |
|---|---|---|
| Natural Peanut Butter | Primary fat and protein source | Use the "drippy" kind for better mixing |
| Erythritol | Non glycemic sweetener and bulking agent | Pulse in a blender for a finer, less gritty crumb |
| Almond Flour | Structural "flour" substitute | Use "super fine blanched" to avoid a grainy mouthfeel |
The interaction between the nut oils and the erythritol is where the magic happens. Unlike sugar, erythritol doesn't caramelize in the same way, so we rely on the proteins in the peanut butter and egg to provide that beautiful bronzed color.
This is why the cooling phase is non negotiable the structure is quite fragile while hot but becomes perfectly chewy once it hits room temperature.
Selecting the Best Flavor Elements
When you are hunting for ingredients at the store, the quality of your peanut butter is the single most important factor. You want the jar that only has two ingredients: peanuts and salt.
Avoid the versions with palm oil or added sugars, as those will completely throw off the fat ratios we have worked so hard to balance. For the chocolate fans, adding a handful of sugar-free chips can take this to a whole new level of decadence.
- 1 cup (250g) natural creamy peanut butter Why this? Provides the essential fat and protein base for structure.
- 1 large egg Why this? Acts as the primary binder and emulsifier for the dough.
- 1 tsp (5ml) pure vanilla extract Why this? Rounds out the earthy peanut flavor with floral notes.
- 1/2 cup (50g) super fine blanched almond flour Why this? Gives the cookie a soft, flour like crumb without the carbs.
- 1/2 cup (96g) granulated erythritol Why this? Provides sweetness and helps the edges crisp up slightly.
- 1/2 tsp (2.5g) baking soda Why this? Helps with browning and gives a tiny bit of lift.
- 1/4 tsp (1.5g) fine sea salt Why this? Balances the sweetness and makes the peanut flavor pop.
- 1/4 cup (40g) sugar-free dark chocolate chips Why this? Optional but highly recommended for a flavor contrast.
| Original Ingredient | Substitute | Why It Works |
|---|---|---|
| Peanut Butter | Almond Butter | Similar fat profile; creates a milder, nuttier flavor |
| Erythritol | Monk Fruit Blend | Same sweetness ratio (1:1); usually has less of a cooling aftertaste |
| Almond Flour | Sunflower Seed Flour | Great nut free option; slightly earthier flavor and denser texture |
If you find yourself reaching for the almond flour often, you might also enjoy experimenting with fudgy keto blondies which use similar pantry staples. Keeping a stash of super fine almond flour is a game changer for anyone diving into low carb baking. It is much more forgiving than coconut flour, which tends to suck every bit of moisture out of a recipe like a sponge.
Vital Tools for Baking Success
You don't need a high tech kitchen to pull this off, but a few specific tools will make your life much easier. An electric hand mixer is your best friend here. While you can mix these by hand, the mixer does a much better job of aerating the peanut butter and erythritol.
This aeration creates tiny air pockets that keep the cookie from becoming a dense, heavy brick.
A heavy duty baking sheet is also a must. Thin, cheap pans often warp in the oven and distribute heat unevenly, which leads to burnt bottoms and raw tops. I always recommend using parchment paper or a silicone baking mat.
These cookies are delicate when they first come out of the oven, and trying to pry them off a bare metal pan is a recipe for heartbreak and broken cookies.
Finally, grab a small cookie scoop if you have one. Consistency is king in baking. If all your cookies are the same size, they will all finish cooking at the same time. There is nothing worse than having half a tray burnt while the other half is still underdone. If you are into making small, uniform snacks for later, these tools are also perfect for whipping up some keto cookie dough fat bombs for the fridge.
The Five Stages of Preparation
- Cream the base. Combine 250g of natural creamy peanut butter and 96g of granulated erythritol in a large bowl. Beat for 2 minutes until the mixture looks pale and airy.
- Build the emulsion. Add the room temperature egg and 5ml of vanilla extract. Use the electric mixer until the batter is glossy and smooth, with no oil streaks.
- Whisk dry ingredients. In a separate bowl, mix 50g of almond flour, 2.5g of baking soda, and 1.5g of sea salt. This ensures the leavening agent is evenly distributed.
- Combine the mixtures. Gradually fold the dry ingredients into the wet base. Stop as soon as a thick, tacky dough forms to avoid over working the nut oils.
- Add the texture. Fold in 40g of sugar-free dark chocolate chips. The dough should feel sturdy enough to roll but still slightly sticky.
- Shape the cookies. Roll the dough into 18 balls (about 2.5 cm each). Place them on a lined baking sheet with enough space for a little spreading.
- The fork press. Press a fork into each ball twice to create a cross hatch. Flatten them to about 1.5 cm until they look like traditional peanut butter cookies.
- The precision bake. Bake at 175°C for 10 to 12 minutes until the edges are firm and slightly bronzed.
- The cooling lock. Let the cookies sit on the hot pan for 15 minutes. This is when the fats solidify and the texture sets.
- Transfer to wire rack. Once they are firm enough to move, let them finish cooling completely to achieve that final chewy bite.
The kitchen will smell crave worthy at step 8, but do not be tempted to move them too early. That 15 minute rest on the pan is actually part of the cooking process. The residual heat from the metal finishes the centers without drying out the edges.
If you try to pick them up too soon, they will simply fall apart in your hands, and while they will still taste good, they won't have that classic cookie "snap."
Avoiding Common Texture Pitfalls
The biggest mistake I see with this recipe is using cold eggs straight from the fridge. When cold egg hits the room temperature peanut butter, the fat can seize up or separate, leaving you with a greasy dough that doesn't rise.
It takes about 30 minutes for an egg to reach room temperature on the counter, or you can place it in a bowl of warm water for 5 minutes if you are in a rush.
Another common issue is over baking. Keto sweeteners like erythritol don't brown as quickly as sugar, so if you wait for the whole cookie to look "dark," they will be rock hard by the time they cool. You are looking for just a hint of gold on the very edges.
The middle should still look slightly soft and matte, not wet.
Why Your Cookies Spread Too Much
If your cookies end up looking like thin pancakes, it is usually because the peanut butter was too oily or the dough got too warm during the mixing process. Some "natural" peanut butters are much runnier than others.
If your dough feels floppy, pop it in the fridge for 20 minutes before rolling the balls. This chills the fats and ensures they hold their shape in the oven.
| Problem | Root Cause | Solution |
|---|---|---|
| Gritty texture | Erythritol crystals didn't melt | Pulse sweetener in a blender before adding to dough |
| Greasy surface | Over mixing or warm dough | Chill dough for 30 minutes; mix only until combined |
| Crumbly bite | Too much almond flour or cold egg | Measure flour by weight; ensure all ingredients are room temp |
Common Mistakes Checklist
- ✓ Always use a room temperature egg to prevent the peanut butter oils from separating.
- ✓ Ensure your peanut butter is well stirred before measuring to get a consistent fat to protein ratio.
- ✓ Don't skip the salt; it is the key to making the keto sweetener taste like real sugar.
- ✓ Let the cookies cool for the full 15 minutes on the pan patience is the final ingredient.
- ✓ Use a silicone mat or parchment paper to prevent the delicate bottoms from sticking.
Creative Swaps and Flavor Twists
Once you have mastered the base recipe, it is time to have some fun with the flavors. This dough is incredibly versatile. I love adding a teaspoon of cinnamon and a pinch of nutmeg for a "spiced" version that feels perfect for autumn.
If you want to go the "fusion" route, try swapping out the chocolate chips for some crushed macadamia nuts or even a swirl of sugar-free jam on top before baking for a PB&J vibe.
If you find yourself with a nut allergy in the house, sunflower seed butter is a fantastic alternative. It has a slightly "greener" flavor (literally it can turn the cookies slightly green due to a reaction with the baking soda, which is totally safe but a fun science experiment!), but the texture remains spot on.
You can also play with the salt. A sprinkle of flaky Maldon salt on top right after they come out of the oven creates a colorful and sophisticated contrast that makes these feel much more "gourmet."
Adjusting the Batch Size
If you are just baking for one or two people, you can easily halve this recipe. Use half an egg by whisking a whole egg in a small bowl and measuring out about 2 tablespoons. The baking time remains the same, but you might want to use a smaller toaster oven pan to save energy.
For a big party, you can double the batch, but I recommend mixing them in two separate bowls to ensure the aeration stays consistent. Doubling in one big bowl can sometimes lead to the bottom half being denser than the top.
| Fresh Homemade | store-bought Shortcut | Flavor Impact |
|---|---|---|
| Natural PB + Erythritol | "No Sugar Added" Jif/Skippy | Shortcut is sweeter but has more additives |
| Blanched Almond Flour | Almond Meal | Meal adds a rustic, gritty texture |
| Pure Vanilla Extract | Artificial Vanillin | Pure extract adds a more complex, floral depth |
Preserving Freshness and Quality
These cookies actually taste better the second day. The flavors have time to meld, and the erythritol loses some of that "cooling" sensation as it settles into the fats. You can store them in an airtight container at room temperature for up to 5 days.
If you live in a very humid climate, I recommend keeping them in the fridge to maintain that firm edge.
For long term storage, these freeze beautifully. I like to freeze them in a single layer on a plate first, then toss them into a freezer bag. This prevents them from sticking together. They will stay fresh for up to 3 months.
When the craving hits, you can just pull one out and let it thaw on the counter for 10 minutes, or pop it in the microwave for 15 seconds if you want that "just baked" warmth.
Don't let any leftover crumbs go to waste! If you have a few broken cookies at the bottom of the container, crush them up and use them as a topping for keto vanilla ice cream or a bowl of Greek yogurt. It adds a wonderful crunch and a punch of protein to your breakfast or dessert.
Inspiring Ideas for Serving
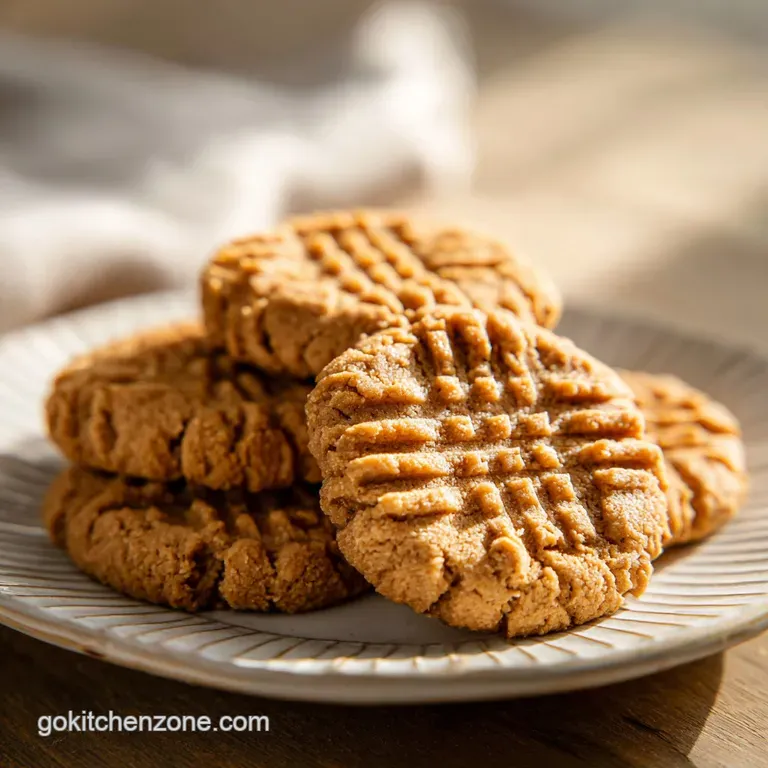
These cookies are a powerhouse on their own, but if you want to turn them into a full dessert experience, there are plenty of ways to play with presentation. I love serving them slightly warm with a cold glass of unsweetened almond milk.
The contrast between the warm, nutty cookie and the cold milk is a classic for a reason. It feels good, it's nostalgic, and it's totally crave worthy.
If you are feeling a bit fancy, you can make "cookie sandwiches." Take two cookies and put a dollop of sugar-free whipped cream or a thin layer of keto chocolate ganache in the middle. Press them together gently and you have a colorful, multi layered treat that looks like it came from a high end bakery.
- For a Sundae: Crumble a cookie over keto chocolate ice cream with a drizzle of melted peanut butter.
- For Breakfast: Pair a single cookie with a cup of black coffee; the bitterness of the coffee perfectly offsets the sweetness of the erythritol.
- For a Snack Plate: Serve alongside some fresh raspberries. The acidity of the berries cuts through the richness of the peanut butter beautifully.
Common Kitchen Myths
"You must use a flax egg for keto cookies to stay together." This is a common misconception. While flax eggs are great for vegan baking, a real egg provides superior structure and emulsification for this specific high fat dough.
The proteins in the egg yolk are what give these cookies their "chew" rather than just being a crumbly mess.
"Keto cookies don't brown, so you have to cook them until they are hard." Actually, the proteins in the peanuts and the egg undergo a process that creates that beautiful bronzed color. While it is more subtle than sugar based caramelization, it definitely happens.
If you wait until they are dark brown all over, they will be overcooked and lose that velvety center we are aiming for.
"Peanut butter is too high in carbs for a keto diet." While peanuts do have some carbs, the high fat and fiber content make them a staple for many. By using a natural version with no added sugar and pairing it with almond flour, we keep the net carbs low enough that these fit perfectly into a balanced low carb lifestyle without any of the "sad" diet food vibes.
Storage and Zero Waste
Store your cookies in a sealed glass jar at room temperature for up to 5 days, or in the fridge for 10 days if you prefer a firmer, cold snap. For freezing, place them in a freezer safe bag with parchment paper between layers to prevent sticking; they will be good for 3 months.
To reheat, 10 seconds in the microwave brings back that "fresh from the oven" softness.
If you have an almost empty jar of peanut butter, don't wash it out! Mix your dough right inside the jar to catch every last bit of that nutty goodness. If you find the cookies have gone a bit soft after a few days, you can "refresh" them by popping them in a 150°C oven for 3-4 minutes to crisp up the edges again.
Any leftover almond flour can be used to thicken sauces or as a breading for chicken, ensuring nothing in your pantry goes to waste.

Recipe FAQs
What are the three ingredients in keto peanut cookies?
The core base consists of natural creamy peanut butter, granulated erythritol, and a room temperature egg. While the full recipe includes vanilla, almond flour, baking soda, and salt for structure and flavor, these three items provide the primary protein, fat, and binder for the dough.
Is it true there is no peanut butter allowed on keto?
No, this is a common misconception. Natural peanut butter without added sugars is a staple in many low-carb diets because it is high in healthy fats and relatively low in net carbs.
Are the 3 ingredient peanut butter cookies soft?
Yes, they maintain a soft, chewy interior even after baking. Because they lack traditional wheat gluten, the texture relies on the fats and sugars provided by the natural oils and erythritol.
What flour is best for keto cookies?
Super fine blanched almond flour is the superior choice. It provides the necessary structure and nutty profile that complements peanut butter perfectly, and if you enjoyed mastering this ingredient ratio, see how we use similar thickening logic in our creamy custard.
How to keep cookies from falling apart?
Cool them on the baking sheet for a full 15 minutes before moving. This allows the fats to solidify and the sweetener to crystallize, which is essential for holding the cookie together.
How to fix peanut butter oil separation in the bowl?
Beat the mixture with an electric hand mixer until the emulsion is smooth. Ensure your egg is at room temperature before you start, as cold ingredients can cause the oils to seize rather than emulsify.
How to get a perfect cross hatch pattern?
Press a fork firmly into each 1 inch dough ball until the cookie reaches 1/2 inch thickness. This technique is crucial because it ensures even steam release during the 10 12 minute bake time, preventing the centers from remaining too raw.
Easy Keto Peanut Butter Cookies
Ingredients:
Instructions:
Nutrition Facts:
| Calories | 111 calories |
|---|---|
| Protein | 4.5 g |
| Fat | 9.4 g |
| Carbs | 9.8 g |
| Fiber | 1.8 g |
| Sugar | 0.9 g |
| Sodium | 118 mg |
