Keto Cheesy Garlic Breadsticks: 4 Ingredient Snack
- Time: Active 5 minutes, Passive 15 minutes, Total 20 minutes
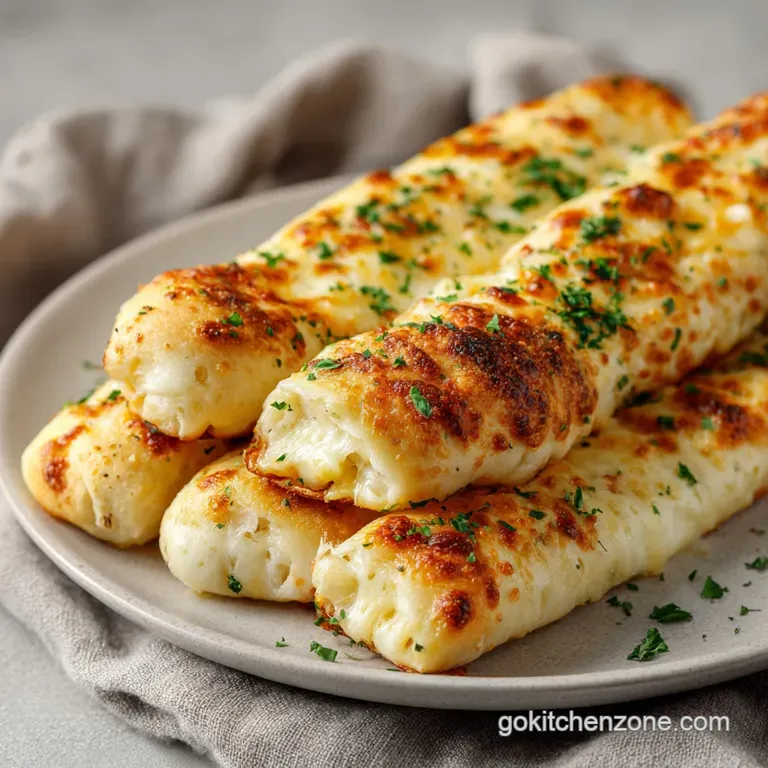
- Flavor/Texture Hook: Deeply toasted garlic aroma with a shatter crisp exterior and chewy cheese center
- Perfect for: Quick weeknight sides, keto friendly movie nights, or beginner low carb meal prep
- Mastering Keto Cheesy Garlic Breadsticks 4 Ingredients
- Why This Simple Technique Works
- Component Analysis and Ingredient Roles
- Items Needed for This Recipe
- Essential Tools for Smooth Prep
- Step by Step to Crispy Perfection
- Fixing Common Keto Breadstick Cooking Issues
- Adjusting the Recipe Size Correctly
- Creative Ways to Flavor Your Bread
- Debunking Common Keto Dough Misconceptions
- Keeping Your Keto Breadsticks Fresh Longer
- Best Ways to Serve Your Breadsticks
- Recipe FAQs
- 📝 Recipe Card
Mastering Keto Cheesy Garlic Breadsticks 4 Ingredients
The moment you pull these out of the oven, the air in your kitchen changes. It is a sharp, toasted scent of garlic hitting hot fat, followed by that unmistakable aroma of browning cheese that reminds you of the crispy bits left on a pizza stone.
You can hear the parchment paper crinkle as the breadsticks settle, and if you listen closely, there is a tiny hiss as the last of the moisture escapes from the mahogany colored edges.
I remember the first time I pulled a tray of these out. I was skeptical that just cheese and an egg could actually hold a shape, but as they cooled, they firmed up into something that actually had a "snap" to it.
It is not exactly like a fluffy yeast roll, but it satisfies that specific craving for something salty, savory, and structured enough to dip into a bowl of warm marinara.
We are focusing on simplicity today because mid week cooking should not be a struggle. You do not need a stand mixer or a bag of expensive almond flour. Just four things you likely already have in the fridge. The trick lies entirely in how you handle the cheese and the timing of the egg.
If you get those two things right, you will never miss the flour based versions again.
Why This Simple Technique Works
Understanding what happens inside the oven helps you get that perfect shatter every time. This recipe relies on protein structures rather than gluten networks.
- Protein Scaffolding: The parmesan provides a hard protein structure that acts as the "bones" of the breadstick, preventing it from just melting into a puddle.
- Moisture Evaporation: Using low moisture mozzarella is vital because the oven time is dedicated to evaporating water, which turns a soft dough into a crispy crust.
- Emulsification Binding: The egg protein acts as a bridge between the two types of cheese, creating a cohesive dough that can be rolled and scored.
- Maillard Reaction: The combination of dairy proteins and heat creates that deep brown color and complex savory flavor without needing any sugar or starches.
| Thickness | Internal Temp | Rest Time | Visual Cue |
|---|---|---|---|
| 1/8 inch | 170°F | 2 mins | Edges turn dark brown and rigid |
| 1/4 inch | 175°F | 5 mins | Center feels firm when pressed |
| 1/2 inch | 180°F | 8 mins | Top is mahogany; center remains soft |
Getting the thickness right is the difference between a cracker and a breadstick. I personally prefer the 1/4 inch mark because it gives you that dual texture: a crispy bottom and a slightly chewy, "bread like" middle.
Component Analysis and Ingredient Roles
The success of these breadsticks 4 ingredients depends on the quality of your cheese choices. It is not just about flavor; it is about the chemistry of the melt.
| Ingredient | Science Role | Pro Secret |
|---|---|---|
| Mozzarella | Provides "pull" and elasticity | Use low moisture blocks, never fresh balls in water |
| Parmesan | Adds rigidity and saltiness | Freshly grated melts better than the canned powder |
| Large Egg | Acts as the primary emulsifier | Room temperature eggs won't shock the warm cheese |
The mozzarella you choose really matters here. If you buy the "fresh" mozzarella that comes in a tub of water, your dough will turn into a soggy, steaming mess. You want the firm, semi hard stuff you usually see in the dairy aisle for pizza toppings.
Items Needed for This Recipe
This list is short, but each item has a specific job to do. Do not skip the room temperature step for the egg, or you will end up with little bits of cooked egg inside your cheese dough.
- Low Moisture Mozzarella (1 cup): Shred it yourself if you can. Pre shredded cheese is coated in potato starch or cellulose to prevent clumping, which can slightly increase the carb count and affect the "stretch" of the dough. Why this? Provides the base volume and chewy texture.
- Shredded Parmesan (1 cup): This adds the sharp, salty punch that makes these taste "baked" rather than just like melted cheese. Why this? Harder cheese proteins create a sturdier, less floppy breadstick.
- Large Egg (1): Make sure it is at room temperature. Why this? Binds the cheeses together into a workable, rolling dough.
- Garlic Powder (1 tsp): I like powder over fresh garlic here because fresh garlic contains water and can burn quickly at 350°F. Why this? Distributes flavor evenly throughout every bite.
For a simple swap, you can replace the parmesan with an aged cheddar if you want a sharper, more orange hued stick, though it will be slightly greasier. If you are out of garlic powder, an Italian seasoning blend works beautifully to keep that savory profile.
Essential Tools for Smooth Prep
You do not need much, but having the right surface to roll on is non negotiable.
- Microwave Safe Bowl: A glass or ceramic bowl works best for melting the cheese evenly without hot spots.
- Parchment Paper: This is the most important tool. Do not try to bake these directly on a greased pan or foil; they will stick and tear.
- Pizza Cutter: Much easier than a knife for getting clean, straight lines through the sticky dough.
- Baking Sheet: A standard rimmed baking sheet provides even heat distribution.
Using a silicone mat (like a Silpat) is an alternative to parchment, though I find parchment yields a slightly crispier bottom because it allows for better moisture escape.
step-by-step to Crispy Perfection

The process moves quickly once the cheese is melted, so have your egg cracked and your garlic powder measured before you start the microwave.
- Heat the oven. Set your oven to 350°F (175°C) and ensure the rack is in the center position for even browning.
- Melt the base. Place 1 cup of mozzarella and 1 cup of parmesan in your bowl. Microwave for 30 seconds, stir with a sturdy spatula, and repeat. Stop when it is a single, stretchy mass.
- Wait for the cool down. Let the cheese sit for exactly 60 seconds. Note: This prevents the egg from scrambling when you add it.
- Add the binders. Crack the room temperature egg into the cheese and sprinkle in the 1 tsp of garlic powder.
- Knead the dough. Use your hands or a spatula to work the egg into the cheese. It will look like it is not going to mix at first, but keep going until it is a smooth, pale yellow ball.
- Shape the rectangle. Place the dough on a large sheet of parchment paper. Use your hands or a rolling pin to flatten it into a rectangle about 1/4 inch thick.
- Score the strips. Use a pizza cutter to score the dough into 8 to 10 strips, but do not pull them apart yet. Leaving them close together prevents the edges from burning too fast.
- Bake to mahogany. Slide the parchment onto your baking sheet. Bake for 12 to 15 minutes until the surface is deep brown and the kitchen smells like a pizzeria.
- Cool for stability. Let the breadsticks rest on the pan for 5 minutes. This is when they transition from soft cheese to crispy breadsticks.
Fixing Common Keto Breadstick Cooking Issues
The most frequent frustration is the dough consistency. If your dough feels like a liquid mess, it usually comes down to the temperature of the cheese or the moisture content of the ingredients.
Why Your Dough Is Too Sticky
If the dough is clinging to your fingers and refusing to form a ball, the cheese was likely overheated or you used a brand with too much water. Add a tablespoon of parmesan cheese to the mix to absorb some of the excess moisture and fat.
If that doesn't work, try letting it sit for another minute; as cheese cools, it naturally becomes less tacky and easier to handle.
Why Your Breadsticks Are Floppy
Floppy breadsticks happen when the oven wasn't hot enough or they didn't bake long enough. This dough needs to reach a "mahogany" color. If they are light gold, they will be soft. If you find they are still too bendy after cooling, pop them back in a 400°F oven for 2 minutes to flash crisp the bottoms.
| Problem | Root Cause | Solution |
|---|---|---|
| Oily surface | Overheated cheese separated | Pat with paper towel; bake 2 mins longer |
| Rubbery texture | Not enough parmesan or underbaked | Increase baking time until deep brown |
| Scrambled egg bits | Added egg to boiling hot cheese | Let cheese cool for 60 seconds before mixing |
Common Mistakes Checklist:
- ✓ Use low moisture mozzarella only (avoid the "fresh" balls in water).
- ✓ Ensure the egg is room temperature so it incorporates smoothly.
- ✓ Never skip the 60 second cooling window before adding the egg.
- ✓ Bake until the color is darker than you think gold is too soft, mahogany is just right.
- ✓ Let them rest on the pan; they crisp up as the fat solidifies during cooling.
The science of this dough is very similar to what I discuss in my Garlic Herb Chaffle recipe, where the balance of egg and cheese determines whether you get a soft waffle or a crispy cracker.
Adjusting the Recipe Size Correctly
Since this recipe uses a single egg, scaling it down requires a little bit of technique. You cannot just use "half an egg" without a plan.
- To Half the Recipe: Use 1/2 cup of each cheese and 1/2 tsp of garlic powder. For the egg, whisk it in a small bowl first, then measure out 2 tablespoons of the beaten egg to use in the dough.
- To Double the Recipe: Use 2 cups of each cheese and 2 eggs. Work in two separate batches for the microwave melting stage to ensure the cheese melts evenly without burning in the center.
- For Large Crowds: Bake on two separate sheets. If you put too much dough on one pan, the moisture won't escape, and you will end up with a soggy middle.
If you are scaling up, keep in mind that the kneading process will take a bit more muscle. The larger the mass of cheese, the faster it loses heat, so you have to work quickly once that egg is in.
Creative Ways to Flavor Your Bread
While the 4 ingredients version is a classic, you can easily tweak the profile without adding significant carbs.
- Spicy Kick: Add 1/2 tsp of red pepper flakes to the dough before kneading.
- Herb Crust: Sprinkle dried oregano or a "pizza seasoning" blend on top before baking.
- Everything Style: Use everything bagel seasoning on the surface, but reduce the garlic powder by half to avoid an over salted result.
- Double Cheese: Sprinkle a tiny bit of extra cheddar on top during the last 3 minutes of baking for a bubbly, textured finish.
If you find yourself enjoying these savory snacks, you might want to balance the palate later with something sweet like Keto Cookie Dough Fat Bombs, which use a completely different set of low carb textures to satisfy cravings.
Debunking Common Keto Dough Misconceptions
There is a lot of noise about what makes a "bread" keto, and many people think you absolutely must have a flour replacement to get a good result.
- You don't need almond flour: Many people believe "Fathead" dough requires almond or coconut flour to be stable. This recipe proves that the proteins in parmesan and egg are more than enough to create a structural "crumb."
- Pre shredded cheese isn't "poison": While it has a tiny bit of starch, for a casual weeknight dinner, it works fine. It might not be as stretchy as block cheese, but it won't ruin the recipe.
- Microwaving doesn't "kill" the cheese: Some purists insist on a double boiler. For this specific breadsticks 4 ingredients recipe, the microwave is actually better because it is fast and keeps the moisture locked in until it hits the oven.
Keeping Your Keto Breadsticks Fresh Longer
Storing cheese based bread is different than storing wheat bread. Because the fat content is so high, they can become soft or "sweaty" if stored improperly.
In the Fridge: Place cooled breadsticks in an airtight container with a piece of paper towel to absorb any rising moisture. They will stay fresh for up to 4 days. To reheat, avoid the microwave it will make them rubbery.
Instead, use a toaster oven or a dry skillet for 2 minutes to bring back the crunch.
In the Freezer: These freeze surprisingly well. Freeze them in a single layer on a tray first, then move them to a freezer bag for up to 2 months. You can bake them straight from frozen at 350°F for about 5 to 7 minutes.
Zero Waste Tip: If you have leftover crumbs or broken bits, don't toss them! Crush them up further and use them as "breadcrumbs" for topping a keto friendly casserole or as a crunchy element in a salad. The high fat and salt content makes them an incredible flavor booster for other dishes.
Best Ways to Serve Your Breadsticks
These are substantial enough to be a standalone snack, but they really shine when paired with the right textures and flavors.
- The Classic Dip: Warm sugar-free marinara is the gold standard. The acidity of the tomatoes cuts through the richness of the mozzarella and parmesan beautifully.
- Creamy Contrast: Serve these alongside a bowl of creamy spinach artichoke dip. The sturdy nature of the baked cheese can handle a heavy scoop.
- The Soup Scoop: Instead of crackers, use these to dip into a creamy tomato basil soup or a broccoli cheddar bowl. They hold their shape much longer than standard bread in hot liquid.
- Salad Side: Serve them alongside a Caesar salad. Since they are essentially giant garlic croutons, the flavor profile is a perfect match.
Right then, you have the science, the steps, and the fixes. This recipe is all about that 20 minute turnaround from "I'm hungry" to "I'm eating cheesy bread." Give it a go tonight just don't forget the parchment paper, or you'll be scrubbing that pan until morning!

Recipe FAQs
Is it true that I should use a high heat oven like 425°F for these breadsticks?
No, this is a common misconception. You must use an oven temperature of 350°F (175°C) to prevent the cheese from burning before the center sets properly.
How to ensure the dough remains smooth and not clumpy?
Knead the mixture thoroughly by hand or with a sturdy spatula after adding the egg and garlic powder until the dough is completely smooth and pale yellow.
Why is the 60-second cooling period important?
Cooling prevents the egg from scrambling upon contact with the hot cheese, ensuring a smooth, cohesive dough structure instead of a curdled texture.
How to achieve the perfect golden brown crispness?
Bake the scored strips for exactly 12 15 minutes until they reach a deep mahogany color, which indicates the moisture has evaporated for maximum crunch.
Can I use other types of cheese for this recipe?
No, stick to the listed mozzarella and parmesan. If you enjoyed mastering the fat-to-protein ratio here, you can see how we apply similar ingredient balancing logic to our Cinnamon Cream Cheese Roll Ups.
How to prevent the dough from sticking to the parchment paper?
Flatten the dough directly onto parchment paper before scoring, and ensure you use high-quality parchment to allow for an easy transfer to your baking sheet.
How to tell when the cheese is melted enough in the microwave?
Observe the consistency until the mozzarella and parmesan form a single, stretchy, cohesive mass, stirring at every 30-second interval to ensure even melting.
4 Ingredient Keto Breadsticks

Ingredients:
Instructions:
Nutrition Facts:
| Calories | 203 kcal |
|---|---|
| Protein | 17.4 g |
| Fat | 13.3 g |
| Carbs | 2.4 g |
| Fiber | 0.1 g |
| Sugar | 0.5 g |
| Sodium | 580 mg |
