
To connect a washer machine, first, locate the water supply, then attach the hot and cold water hoses, and secure the drain hose to a drain stack or standpipe. Connecting a washer machine is a simple process that can be accomplished with a few basic steps.
By following the manufacturer’s instructions and ensuring the proper placement and connection of hoses, you can quickly and effectively set up your washer machine for optimal performance. Additionally, it’s essential to double-check all connections to prevent leaks and ensure the smooth operation of the appliance.
Understanding how to connect a washer machine not only ensures its functionality but also helps to maintain its longevity and efficiency. Whether you are setting up a new washer machine or relocating an existing one, properly connecting the appliance is key to its performance and reliability.

Getting Started With Washer Machine Setup
To connect a washer machine, start by positioning it near a water source and electrical outlet. Attach the hoses to the designated valves, ensuring a secure connection. Then, plug in the machine and run a test cycle to ensure proper functioning before using it for laundry tasks.
Scope Of The Article Content
Our discussion here will cover the essential steps and requirements for the proper installation of a washer machine. We will guide you through the process, emphasizing the importance of securing the necessary tools and materials. Additionally, we will underscore the significance of correct washer machine connection for efficient and safe operation.
Importance Of Correct Washer Machine Connection
Securing the correct connection for your washer machine is vital to ensure its optimal performance and longevity. Incorrect installation may lead to water leakages, electrical hazards, or malfunctioning of the appliance. Therefore, it is crucial to adhere to the manufacturer’s guidelines and best practices for connecting your washer machine.
Tools And Materials Needed For Installation
Before commencing the washer machine setup, it is imperative to gather the necessary tools and materials to facilitate a smooth installation process. Refer to the table below for a comprehensive list of essential items:
| Tools | Materials |
|---|---|
|
|
Preparing For Installation
Choosing The Right Location For Your Washer
When deciding where to place your washer, consider a location with easy access to water and power sources. Additionally, it’s essential to choose a level surface to prevent the machine from vibrating excessively during the spin cycle. Be sure to allow for some space around the unit for easy maintenance and service access.Ensuring Adequate Space And Ventilation
Ensure the installation area provides ample space for the washer machine and allows for proper ventilation. Adequate airflow around the washer can help prevent mold and mildew from developing in the unit. Proper ventilation also assists in the drying process during the washing cycle. Consider keeping the area well-lit to easily spot any potential leaks or issues.Checking For Accessible Power And Water Sources
Before installing the washer, ensure that suitable power and water sources are conveniently accessible. The power outlet should be close enough to reach the machine’s plug without stretching or using extension cords. Similarly, the water inlet should be easily reachable, ideally with a proper shut-off valve nearby for emergency maintenance.How To Connect A Washer Machine Safely
When connecting a washer machine, safety should be the top priority. Ensuring a safe connection not only protects your home and appliances but also prevents potential hazards. Here’s a comprehensive guide on how to connect a washer machine safely, covering essential steps for a secure and effective installation.
Disconnecting Power Before Beginning
Prior to initiating any plumbing work, make sure to disconnect the power supply to the washer machine. Unplugging the machine from the electrical outlet or turning off the circuit breaker dedicated to the appliance is crucial for safety. This ensures that there is no risk of electrical shock or damage while working on the water connections.
Step-by-step Guide To Water Inlet Connection
Connecting the water inlet correctly is vital for the proper functioning of the washer machine. Follow these steps to ensure a secure water inlet connection:
- Locate the water supply valve: Find the hot and cold water supply valves and turn them off to prevent water flow during the installation process.
- Attach the hoses: Securely attach the hot and cold water hoses to the corresponding water supply valves, ensuring a tight connection to prevent leaks.
- Connect to the washer machine: Affix the opposite ends of the hoses to the designated hot and cold water inlets on the back of the washer machine, making sure they are firmly attached.
- Turn on the valves: Once the hoses are connected, turn the water supply valves back on to allow water to flow into the washer machine.
- Inspect for leaks: Check all connection points for any signs of leakage and ensure everything is properly sealed before proceeding.
Draining Options And Sewage Considerations
When connecting a washer machine, it is crucial to address draining options and sewage considerations to avoid potential plumbing issues. Here are important factors to consider:
- Drain hose placement: Position the washer machine’s drain hose securely to prevent it from coming loose or causing water damage.
- Sewage connection: Ensure the drain hose is properly connected to the sewage line, allowing for efficient water drainage without any blockages or leaks.
- Gravity flow: Position the drain hose in a way that allows for proper gravity flow, ensuring smooth drainage of water from the washer machine.
Securing Electrical Connections
Properly securing the electrical connections of your washer machine is essential for safety and to ensure efficient operation. Incorrect electrical installation can lead to electrical hazards or damage to the appliance. In this section, we’ll cover the H3 headings: Understanding your washer’s electrical requirements and Step-by-step guide: Plugging in your washer machine.
Understanding Your Washer’s Electrical Requirements
Before connecting your washer machine, it’s vital to understand its electrical requirements. Refer to the user manual or the manufacturer’s specifications to determine the specific electrical needs of your washer. Pay attention to the voltage, current, and receptacle type required for the appliance to function optimally.
Step-by-step Guide: Plugging In Your Washer Machine
Follow these steps to securely plug in your washer machine:
- Inspect the power cord: Ensure that the power cord is free from any damages such as fraying or exposed wires. If any such damages are present, the cord must be replaced before proceeding.
- Use a dedicated outlet: Avoid using extension cords or sharing the outlet with other high-powered appliances. Directly plugging the washer machine into a dedicated outlet reduces the risk of electrical overloads.
- Proper grounding: Ensure that the outlet used is properly grounded. It is recommended to have a qualified electrician check the outlet for proper grounding if there are any concerns.
- Secure connections: When plugging in the washer, ensure that the connection is snug and secure. Avoid any loose or wobbly connections that can lead to electrical arcing or intermittent power supply.
- Final checks: After plugging in the washer, conduct a final inspection of the electrical connections to ensure everything is properly in place before using the appliance.
Final Steps And Verifications
Before you start using your newly connected washer machine, there are some final steps and verifications that are crucial to ensure proper functionality and longevity of your appliance. In this section, we will cover the essential final steps, verifications, and maintenance tips to help you complete the installation process.
Leveling Your Washer For Optimal Performance
Proper leveling of your washer is important for its optimal performance and to prevent unnecessary vibration. Most washers come with adjustable legs, allowing you to level the appliance. Use a bubble level to ensure that the washer is perfectly leveled from side to side and front to back. Adjust the legs as needed to achieve the correct level.
Testing Your Connection: The First Run
Once the washer is properly leveled and all connections are secure, it’s time to perform the initial test run. Fill the washer with water and run a short cycle to check for any leaks or irregularities in the water flow. Observe the connections carefully and listen for any unusual noises during the cycle. This step is crucial to ensure that your washer is functioning as expected.
Tips For Maintaining Your Washer’s Connections
- Regularly inspect the water supply hoses and connections for any signs of wear, leaks, or corrosion. Replace them if necessary to prevent potential water damage.
- Clean the lint trap and drainage system to prevent blockages and ensure the smooth operation of your washer.
- Avoid overloading the washer, as it can put unnecessary strain on the connections and internal components. Follow the manufacturer’s guidelines for load capacity.
- Consider using a water leak detection device near the washer to alert you to any potential leaks, providing an added layer of protection for your home.
Frequently Asked Questions For How To Connect A Washer Machine
Q: How Do I Connect My Washer Machine To The Water Supply?
A: To connect your washer machine to the water supply, first, turn off the water source, then connect the inlet hoses to the hot and cold water taps. Ensure the hoses are tightly secured, then turn the water back on. Check for leaks before use.
What Type Of Detergent Should I Use For My Washer Machine?
Use a high-efficiency (HE) detergent for your washer machine to ensure proper cleaning and prevent excess suds. HE detergents are designed to work with high-efficiency washers, resulting in better cleaning performance and reduced residue buildup.
Q: Can I Use Any Type Of Outlet For My Washer Machine?
A: It’s important to use a grounded outlet for your washer machine. A grounded outlet provides proper electrical safety, reducing the risk of electrical hazards. Avoid using extension cords as they may not provide sufficient power or grounding for the washer machine.
Q: What type of detergent should I use for my washer?
A: Use a high-efficiency (HE) detergent specifically designed for front-loading or top-loading washers. Follow the manufacturer’s guidelines on the detergent packaging for the correct amount.
Q: Can I use an extension cord for my washer?
A: It’s not recommended. Washers should be plugged directly into a grounded three-prong outlet. Using an extension cord may cause safety hazards or affect the washer’s performance.
Q: How should I clean the washer drum?
A: Run a clean washer cycle with hot water and an appropriate cleaner, or use a mixture of vinegar and baking soda. Wipe the drum and door seal regularly to prevent mold or mildew buildup.
Q: Why is my washer shaking during the spin cycle?
A: Check if the washer is level on the floor. Adjust the leveling feet to ensure stability. Overloading the washer can also cause imbalance and shaking, so make sure you’re not exceeding the recommended load capacity.
Q: Should I leave the washer door open between cycles?
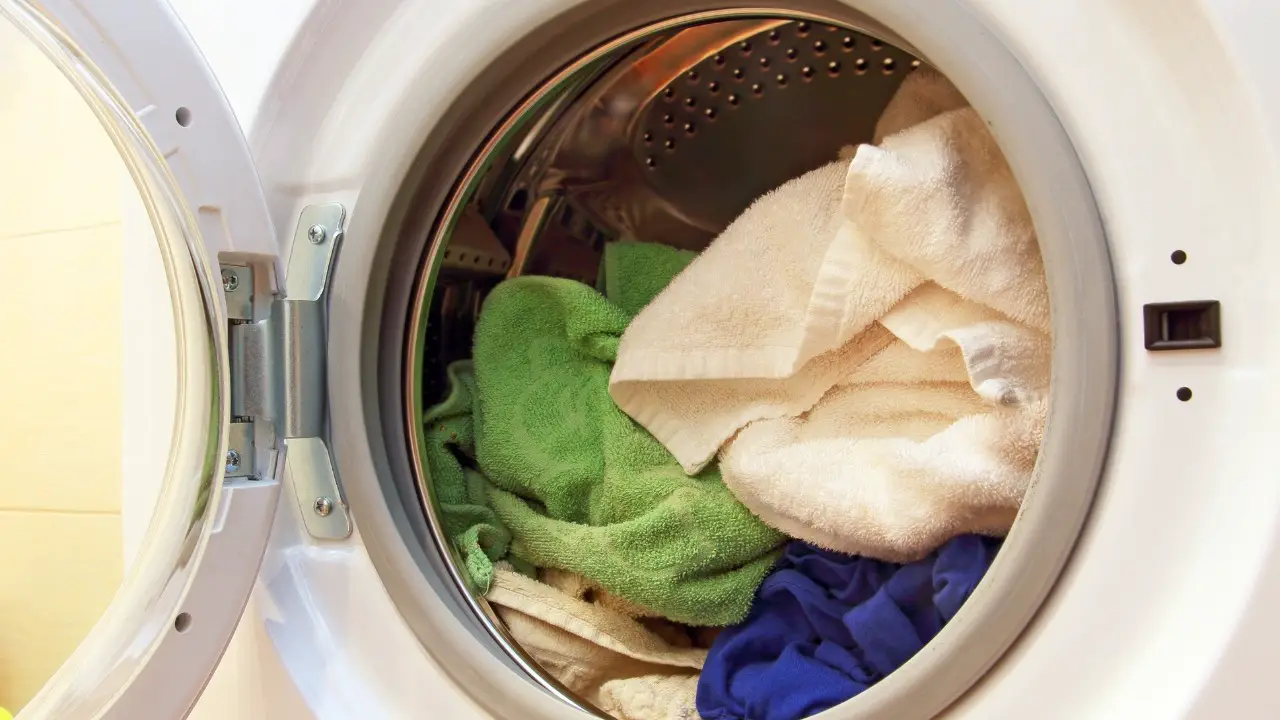
A: Yes, it’s recommended to leave the door ajar after each cycle to allow the drum to dry and prevent mold growth. This helps maintain a fresh-smelling washer.
Q: Why is my washer not draining properly?
A: Check for clogs in the drain hose or pump filter. Ensure the drain hose is not kinked. If the issue persists, there may be a problem with the pump or a blockage in the drainage system. Conclusion
Incorporating these instructions will guarantee a seamless washer machine connection process. By following the steps outlined in this blog post, you will ensure a well-functioning and efficient washer machine. With the easy-to-follow guidelines provided, connecting your washer machine doesn’t have to be an intimidating task. Maintain these key points and enjoy hassle-free laundry days.


