
How to replace a bathroom sink drain start by removing the old drain assembly. Then, install the new drain assembly.
Many homeowners face the common task of replacing a sink drain when maintaining their bathrooms. Over time, sink drains can become clogged or damaged, leading to leaks and other issues. In this blog post, we will guide you through the step-by-step process of replacing a bathroom sink drain.
Following these simple instructions, you can easily update your bathroom and ensure everything functions properly. Let’s dive in and learn how to tackle this DIY project confidently.
Introduction To Sink Drain Replacement
Learn how to replace a bathroom sink drain with our step-by-step guide easily. We’ve got you covered from removing the old drain to installing the new one. Keep your bathroom looking fresh and functional with this simple DIY project.
Is your bathroom sink drain causing problems? Do you find yourself standing in a pool of water every time you wash your hands? It might be time to replace the sink drain. While it may seem daunting, it is a relatively simple process you can do on your own. In this guide, we’ll walk you through replacing a bathroom sink drain. We’ll also cover the signs that indicate you need a new drain and the tools and materials required for the job.
Signs You Need A New Sink Drain
Before you start replacing your bathroom sink drain, it’s essential to identify if you need a new one. Here are some signs that indicate it’s time to replace your sink drain:
- Water is slow to drain or doesn’t drain at all
- You can smell foul odors coming from your sink
- You notice water stains or damage on the sink or surrounding areas
- You’ve tried cleaning the drain, but it still doesn’t work properly
If you are experiencing any of these issues, it’s time to replace your sink drain.
Tools And Materials Required
You don’t need to be a DIY expert to replace a bathroom sink drain. Here are the tools and materials you’ll need:
| Tools | Materials |
|---|---|
| Adjustable pliers | New sink drain assembly |
| Plumber’s putty | Teflon tape |
| Bucket | Clean rag or towel |
Before you start the job, make sure you have all the necessary tools and materials. Now that you know what you need, let’s get started on replacing your bathroom sink drain.
Preparation Steps
To replace a bathroom sink drain:
- Start by clearing out the cabinet underneath.
- Gather necessary tools like a wrench and bucket.
- Unscrew the old drain, clean the area, and install the new one securely.
Clearing The Work Area
Begin by removing any items from the bathroom sink area to provide ample working space.
Safety Precautions
Before starting, put on safety gloves and goggles to protect yourself from any potential harm.
Make sure the water supply to the sink is turned off to prevent any leaks or accidents.
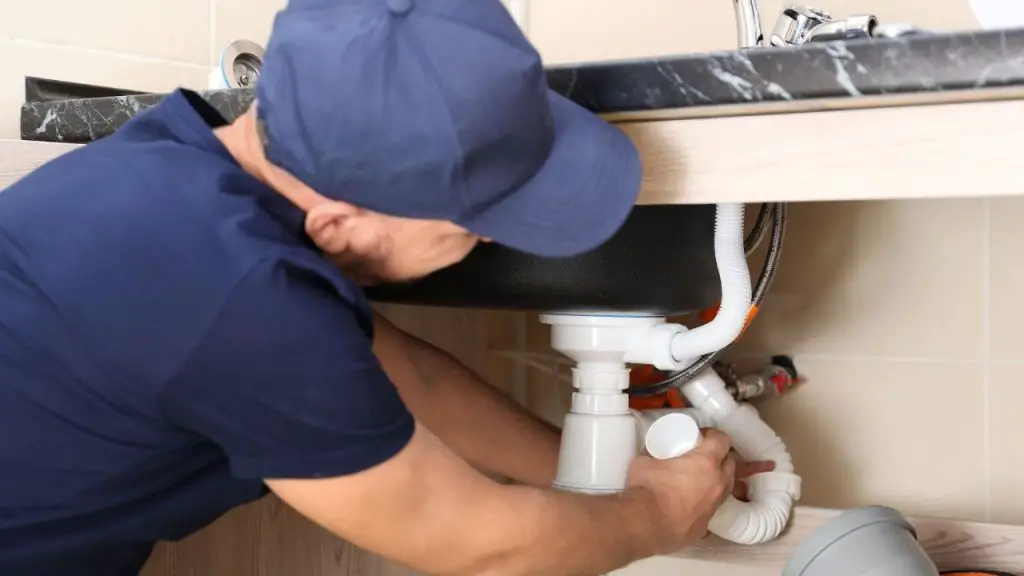
Removing The Old Drain
When it comes to replacing a bathroom sink drain, the first step is to remove the old drain. This involves disconnecting the P-trap and loosening the drain flange.
Disconnecting The P-trap
- To disconnect the P-trap, start by placing a bucket underneath the trap to catch any water or debris that may spill out.
- Next, use a pair of pliers to loosen the slip nuts on both ends of the P-trap.
- Once the slip nuts are loosened, carefully remove the P-trap and empty its contents into the bucket.
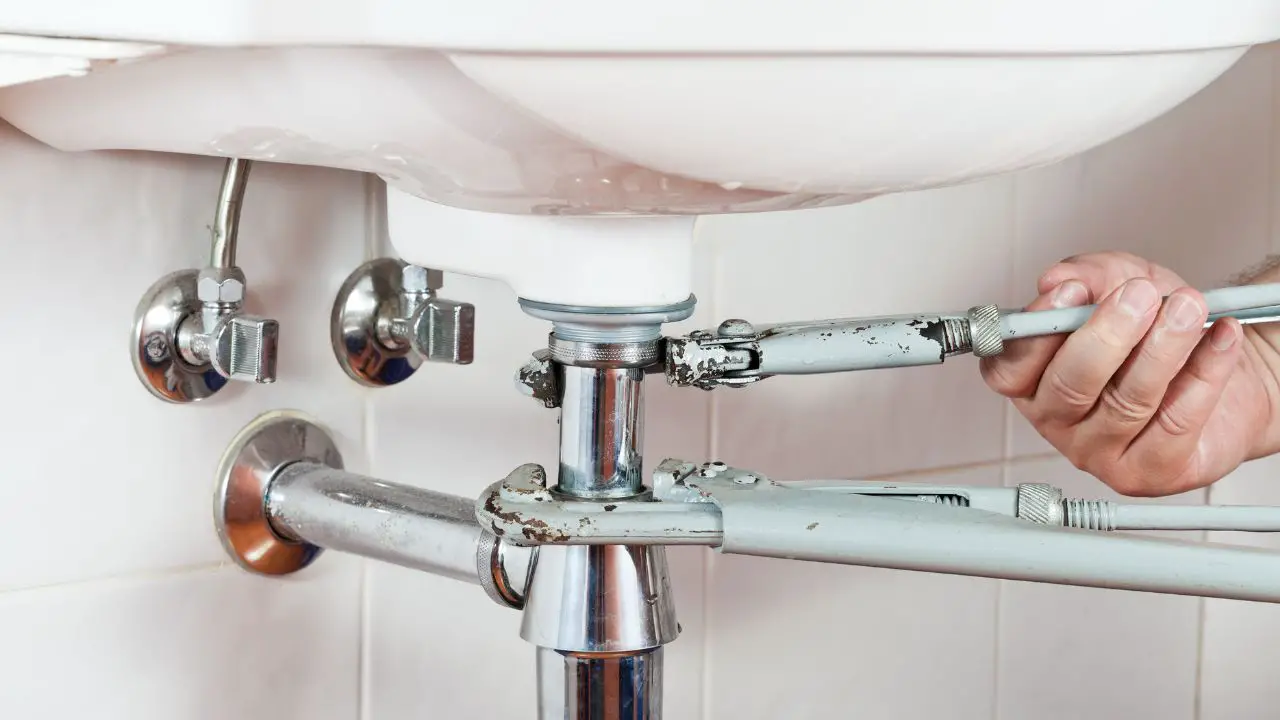
Loosening The Drain Flange
- To loosen the drain flange, you will need to access the area beneath the sink.
- Using a pipe wrench, turn the drain flange counterclockwise to loosen it from the sink’s tailpiece.
- If the drain flange is stubborn, applying penetrating oil and allowing it to sit for a few minutes can help loosen it.
Choosing The Right Replacement Drain
When replacing a bathroom sink drain, it’s crucial to choose the right replacement drain. This decision can impact the functionality and aesthetics of your sink. Understanding the types of sink drains and how to match them to your specific sink will help you make an informed choice.
Types Of Sink Drains
Various types of sink drains are available, each with its own features and installation requirements. These include pop-up drains, grid drains, lift-and-turn drains, and push-button drains.
Matching The Drain To Your Sink
When selecting a replacement drain, consider the size and style of your current sink. Ensure that the replacement drain matches the sink’s dimensions and is compatible with the sink material. Additionally, consider the existing drain mechanism to ensure a seamless installation process.
Installing The New Drain
When installing the new drain for your bathroom sink, ensuring a proper seal and secure fit is essential. This will prevent leaks and potential damage to your cabinets and flooring. Here’s how to complete this final step in replacing your bathroom sink drain.
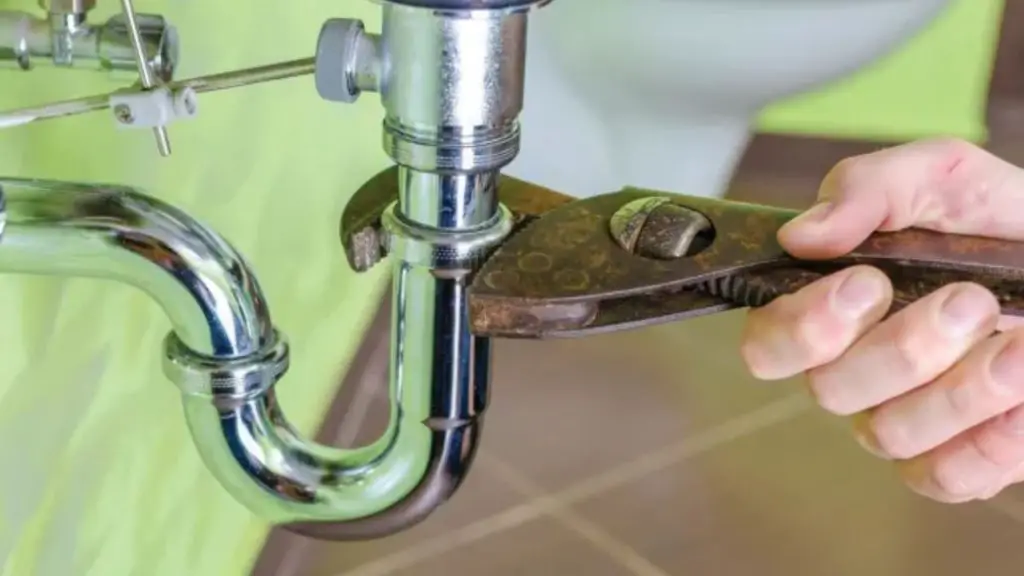
Securing The Flange
Start by securing the flange to the bottom of the sink. Place the rubber gasket over the bottom of the flange, followed by the cardboard friction ring. Insert the flange into the drain hole and secure it with the locknut. Use a pair of pliers to ensure the flange is tightly secured, but be careful not to overtighten and damage the sink.
Applying Plumber’s Putty
Roll a small amount of plumber’s putty into a rope shape and wrap it around the underside of the drain flange. Ensure it makes complete contact with the sink surface to create a watertight seal. Once the putty is in place, insert the drain body into the flange and tighten it with the drain wrench. Wipe away any excess putty that squeezes out around the edges of the flange.
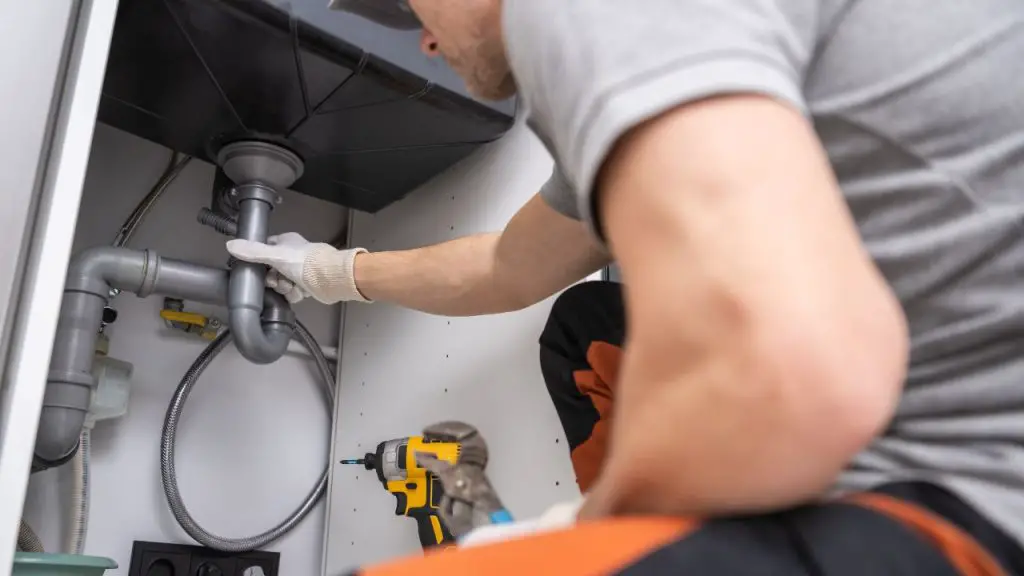
Reconnecting The Plumbing
Learn how to easily replace a bathroom sink drain by reconnecting the plumbing. Follow simple steps for a quick and efficient DIY project.
Attaching The P-trap
Ensuring A Watertight Seal
Reconnecting the plumbing is a crucial step in replacing a bathroom sink drain. Once the new sink drain is in place, you can proceed with attaching the P-Trap and ensuring a watertight seal to prevent leaks.
Testing For Leaks
Testing for Leaks is a crucial step in replacing a bathroom sink drain to ensure proper functionality and prevent water damage.
Running Water Test
1. Fill the sink with water and allow it to drain completely.
2. Observe the drain area for any signs of leakage.
3. Run more water to verify the source of any leaks.
Checking Connections
1. Inspect all the connections between the drain components.
2. Tighten any loose connections using a wrench.
3. Apply the plumber’s tape to seal threaded connections effectively.
Maintenance Tips
To replace a bathroom sink drain:
- Start by removing the old drain and cleaning the area.
- Apply the plumber’s putty around the new drain and insert it into the sink.
- Tighten the locknut underneath and connect the P-trap.
- Test for leaks and make adjustments if necessary.
Regular maintenance can prevent future issues.
Maintaining your bathroom sink drain is crucial to ensuring it functions effectively and lasts for a long time. Regular cleaning practices and preventing future clogs can help you avoid costly repairs or replacements. In this article, we will discuss some simple maintenance tips to help you keep your bathroom sink drain in tip-top condition.
Regular Cleaning Practices
Cleaning your bathroom sink drain regularly can help prevent clogs and keep it functioning effectively. Here are some cleaning practices you can follow:
- Remove any visible debris or hair from the sink drain regularly.
- Pour boiling water down the drain once a week to help dissolve any buildup.
- To clean the drain, use a mixture of baking soda and vinegar. Pour a cup of baking soda down the drain, followed by a cup of vinegar. Let it sit for a few minutes before flushing it with hot water.
Preventing Future Clogs
Preventing clogs before they happen can help you save time and money in the long run. Here are some tips to help you avoid future clogs:
- Avoid pouring grease or oil down the drain, as they can solidify and cause clogs.
- Use a drain strainer to catch hair and debris before they enter the drain.
- Avoid flushing anything other than toilet paper down the toilet, as it can cause clogs in your pipes.
By following these simple maintenance tips, you can help prolong the life of your bathroom sink drain and avoid costly repairs or replacements. Remember, prevention is critical, and a little maintenance can go a long way in keeping your bathroom sink drain in top condition.
Troubleshooting Common Issues
When replacing a bathroom sink drain, it’s essential to address common issues that may arise. By troubleshooting these problems effectively, you can ensure a successful installation process.
Dealing With Persistent Leaks
To address persistent leaks, check the rubber gasket for damage and tighten the locknut securely.
- Inspect the gasket for wear and tear
- Apply plumber’s putty around the edges
- Ensure the locknut is firmly tightened
Adjusting Connections
Adjust connections by ensuring all parts are aligned correctly and tightened appropriately.
- Check the alignment of pipes and fittings
- Use a wrench to tighten connections
- Apply Teflon tape for a secure seal
Frequently Asked Questions How to Replace a Bathroom Sink Drain
Can A Bathroom Sink Drain Be Replaced?
Yes, a bathroom sink drain can be replaced easily by following simple DIY steps.
How To Replace A Bathroom Sink Drain Stopper?
To replace a bathroom sink drain stopper, first, remove the old stopper by loosening the nut underneath the sink and pulling the rod out. Then, please insert the new stopper and secure it with the nut. Test the stopper by filling the sink with water and checking for leaks.
How To Remove An Old Bathroom Sink Drain?
To remove an old bathroom sink drain:
- Start by locating the retaining nut underneath the sink.
- Use pliers to loosen and remove the nut, then pull out the old drain assembly.
- Clean the area before installing a new drain.
Do You Need Plumbers Putty To Replace Sink Drain?
It would help if you had plumbers putty to replace a sink drain. It helps create a watertight seal between the drain and the sink.
How Do You Remove A Bathroom Sink Drain Stopper?
To remove a sink drain stopper, locate the pivot rod, unscrew the nut, and pull out the stopper.
What Tools Are Needed To Replace A Bathroom Sink Drain?
To replace a sink drain, you’ll need pliers, a wrench, a screwdriver, and a plumber’s putty.
Why Is My Bathroom Sink Drain Leaking?
A leaking sink drain could be due to loose connections, worn-out gaskets, or a damaged pipe.
Can I Replace A Sink Drain Without A Plumber?
Yes, you can replace a sink drain with essential tools and follow step-by-step instructions.
How Often Should A Bathroom Sink Drain Be Replaced?
Sink drains usually last a long time, but if you notice leaks or corrosion, consider a replacement.
What Is The Best Material For A Sink Drain?
Stainless steel sink drains are durable, resistant to corrosion, and easy to clean.
Conclusion
Replacing a bathroom sink drain is a manageable DIY task that can improve the functionality and aesthetics of your bathroom. By following the outlined step-by-step guide, you can complete this project and avoid needing professional assistance.
With the right tools and a systematic approach, you can easily upgrade your bathroom sink without any hassle.


