How to Make Coffee Creamer: Easy Homemade Recipe

To make coffee creamer, mix condensed milk, milk, and flavoring. Stir until smooth and refrigerate before use.
Homemade coffee creamer adds a personal touch to your morning brew. It’s easy to make and customizable to your taste. Whether you prefer vanilla, hazelnut, or mocha, creating your own creamer allows you to control the ingredients. You avoid preservatives and artificial flavors found in store-bought options.
Plus, it’s cost-effective and can be adjusted for dietary preferences, such as using almond milk for a dairy-free version. With just a few simple steps, you can elevate your coffee experience. Start your day with a rich, creamy addition that makes each cup feel special.
Basic Recipe
Making your own coffee creamer at home is easy and fun. This basic recipe will help you create a delicious and creamy addition to your morning coffee.
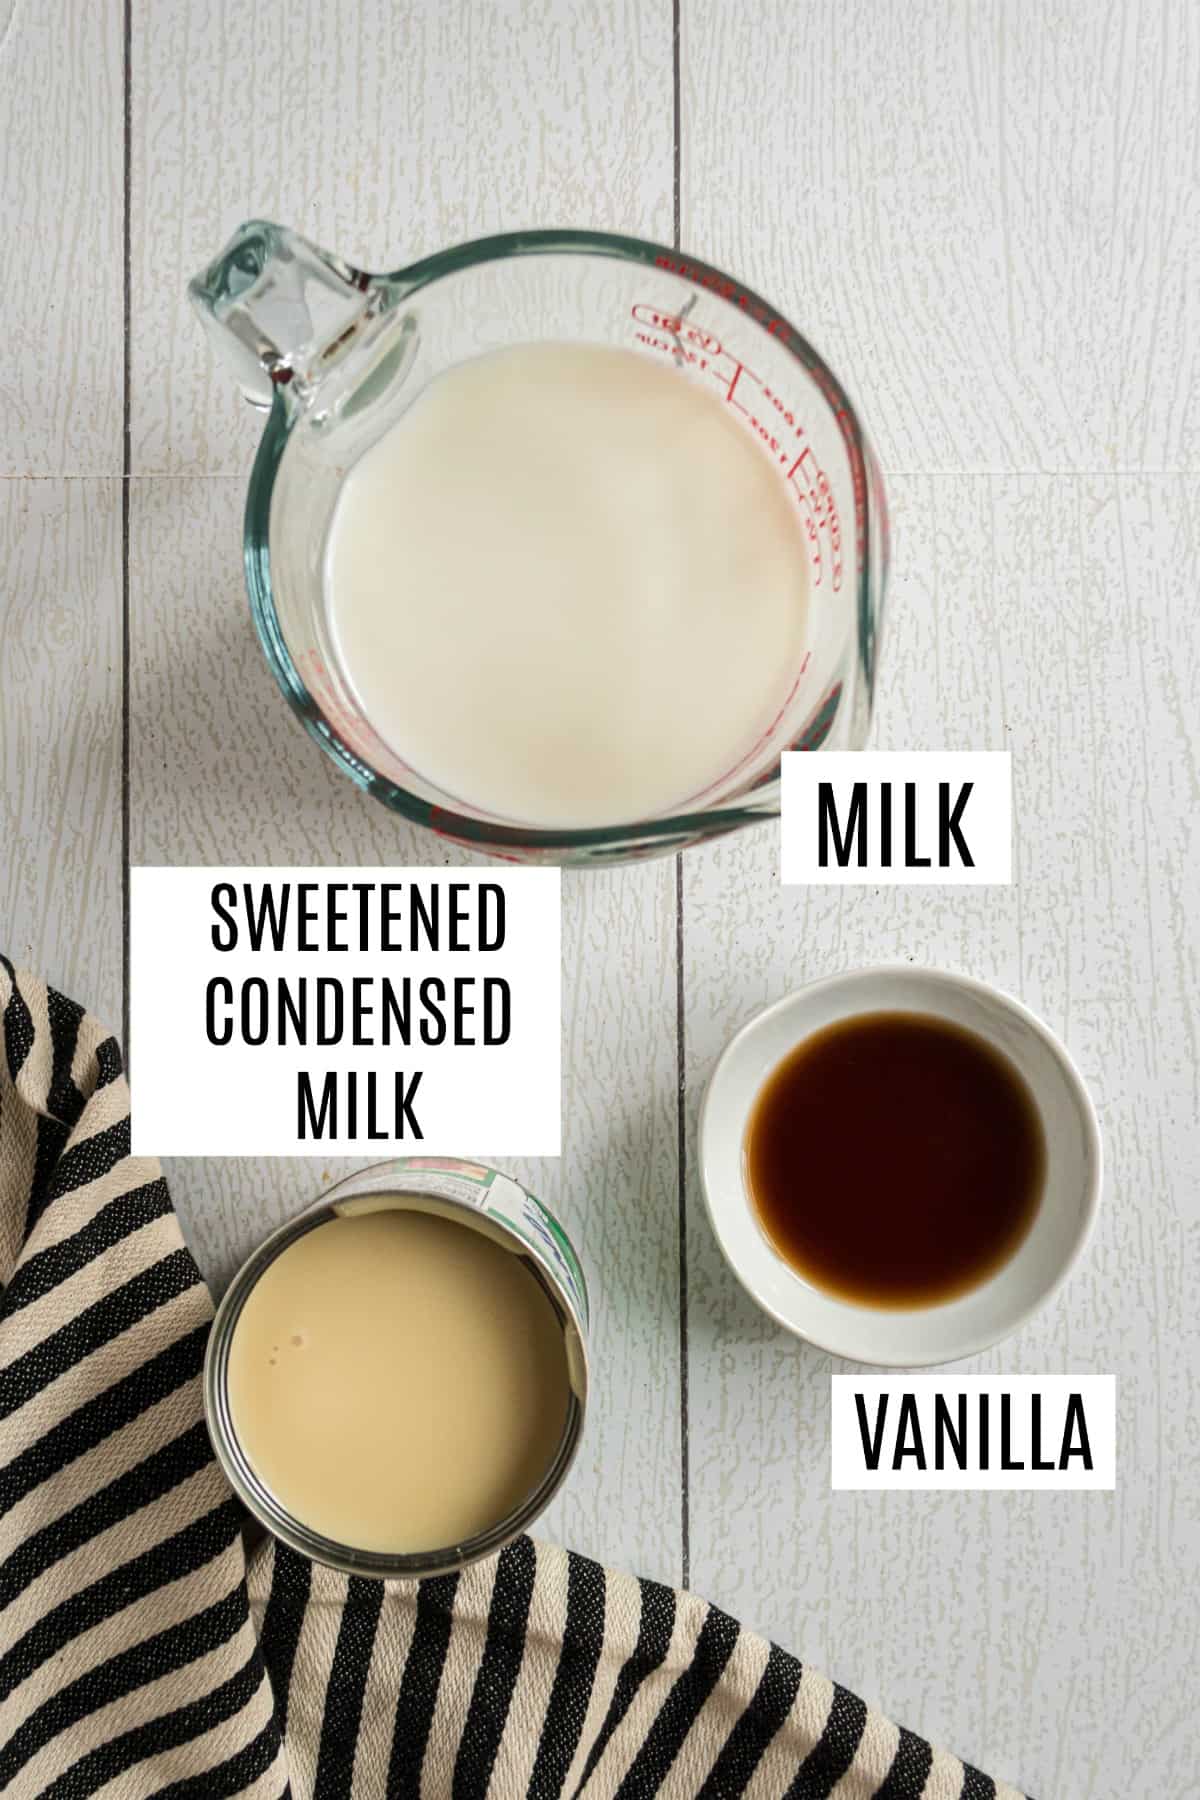
Simple Ingredients
You’ll need just a few simple ingredients to make your coffee creamer:
- 1 cup of milk (any kind)
- 1 cup of heavy cream
- 1/4 cup of sweetened condensed milk
- 1 teaspoon of vanilla extract
Step-by-step Process
- Pour the milk into a medium saucepan.
- Add the heavy cream to the saucepan.
- Stir in the sweetened condensed milk.
- Heat the mixture over medium heat.
- Stir frequently until it begins to steam.
- Remove from heat before it starts to boil.
- Add the vanilla extract and stir well.
- Let the mixture cool completely.
- Pour the creamer into a clean bottle or jar.
- Store it in the refrigerator for up to one week.
Your homemade coffee creamer is now ready to use. Just add a splash to your coffee and enjoy!

Flavor Variations
Exploring flavor variations can make your coffee experience exciting. Homemade coffee creamers are easy to customize. Here are three delightful options to try: Vanilla, Chocolate, and Caramel.
Vanilla Creamer
Vanilla is a classic flavor. It adds a smooth, sweet touch to your coffee.
- 1 cup of milk
- 1 cup of heavy cream
- 4 tablespoons of sugar
- 2 teaspoons of vanilla extract
Mix the milk, cream, and sugar. Heat until the sugar dissolves. Stir in the vanilla extract. Let it cool before using.
Chocolate Creamer
Chocolate lovers will adore this rich, creamy addition to their coffee.
- 1 cup of milk
- 1 cup of heavy cream
- 3 tablespoons of cocoa powder
- 4 tablespoons of sugar
- 1 teaspoon of vanilla extract
Combine milk, cream, cocoa powder, and sugar. Heat the mixture, stirring until smooth. Add the vanilla extract. Cool it down before serving.
Caramel Creamer
Caramel creamer gives a buttery, sweet flavor to your coffee.
- 1 cup of milk
- 1 cup of heavy cream
- 4 tablespoons of caramel sauce
- 1 teaspoon of vanilla extract
Mix milk, cream, and caramel sauce. Heat until well blended. Stir in the vanilla extract. Let it cool before using.
These easy recipes can transform your morning coffee. Enjoy experimenting with these flavor variations!
Dairy-free Options
Are you looking for delicious dairy-free options for your coffee creamer? Dairy-free creamers can enhance your coffee without compromising on taste. Below, we explore two popular choices: almond milk creamer and coconut milk creamer.
Almond Milk Creamer
Almond milk creamer is a great alternative for dairy-free coffee lovers. It’s light, nutty, and easy to make at home.
| Ingredients | Quantity |
|---|---|
| Almond Milk | 1 cup |
| Maple Syrup | 2 tablespoons |
| Vanilla Extract | 1 teaspoon |
- Combine all ingredients in a blender.
- Blend until smooth.
- Store in an airtight container in the fridge.
This creamer adds a subtle nutty flavor to your coffee. It’s perfect for those who love a light and refreshing taste.
Coconut Milk Creamer
Coconut milk creamer is rich and creamy. It provides a tropical twist to your coffee.
| Ingredients | Quantity |
|---|---|
| Coconut Milk | 1 cup |
| Honey | 1 tablespoon |
| Cinnamon | 1/2 teaspoon |
- Mix all ingredients in a saucepan.
- Heat on low until well combined.
- Let it cool and store in the fridge.
This creamer adds a rich and creamy flavor to your coffee. It’s ideal for those who enjoy a hint of tropical sweetness.
Storage Tips
Proper storage is key to keeping your homemade coffee creamer fresh and delicious. Follow these simple tips to ensure your creamer stays at its best.
Refrigeration
Always store your coffee creamer in the refrigerator. Place it on a shelf rather than in the door. The temperature in the door fluctuates too much. Use an airtight container to prevent the creamer from absorbing other odors.
Label your container with the date you made the creamer. This helps you keep track of its freshness. Shake the container before each use. This ensures the ingredients stay well-mixed.
Shelf Life
Homemade coffee creamer usually lasts about one week in the refrigerator. If you used fresh dairy, it might last a few days longer. Always check for any sour smell before using it.
Here is a simple guide to the shelf life of different types of coffee creamer:
| Type of Creamer | Shelf Life |
|---|---|
| Regular (with dairy) | 7-10 days |
| Non-Dairy | 10-14 days |
If you notice any change in color or texture, discard the creamer. Your safety is more important. Always trust your senses.
Health Benefits
Making your own coffee creamer can be a healthier choice. It allows you to control what goes into your morning cup. Let’s explore some of the health benefits.
Natural Ingredients
Homemade coffee creamer uses natural ingredients. You can use fresh milk, cream, and natural sweeteners. This means no artificial flavors or preservatives.
- Milk: Provides calcium and vitamin D.
- Honey: A natural sweetener with antioxidants.
- Vanilla Extract: Adds flavor without chemicals.
Using natural ingredients can boost your daily nutrient intake. It can also reduce your exposure to harmful additives.
Lower Sugar Content
Store-bought creamers often have high sugar content. Making your own lets you control the sweetness.
- Choose your sweetener.
- Adjust the amount to your taste.
- Enjoy a healthier cup of coffee.
Lower sugar can help manage blood sugar levels. It can also reduce the risk of weight gain and cavities.
| Ingredient | Benefit |
|---|---|
| Natural Milk | Rich in calcium and vitamin D |
| Honey | Contains antioxidants |
| Vanilla Extract | Flavor without chemicals |
By using healthier ingredients, you make a better choice for your body. Enjoy your coffee knowing it’s better for you.
Common Mistakes
Making your own coffee creamer can be fun and rewarding. But, there are common mistakes that can ruin your efforts. Let’s explore these mistakes and how to avoid them.
Overheating Ingredients
Overheating ingredients can change the taste and texture of your creamer. Milk and cream can scorch quickly. This gives them a burnt flavor. Use a low heat setting on your stove. Stir constantly to prevent burning.
Also, overheating can cause the ingredients to separate. This makes the creamer lumpy. To avoid this, heat slowly. Use a thermometer to keep the temperature below 160°F (70°C).
Incorrect Proportions
Using the wrong proportions can make your creamer too thick or too thin. Balance is key. A good starting point is:
| Ingredient | Proportion |
|---|---|
| Milk | 1 cup |
| Cream | 1 cup |
| Sweetener | 2-3 tablespoons |
| Flavoring (e.g., vanilla) | 1 teaspoon |
Adjust these proportions to suit your taste. If your creamer is too thick, add more milk. If too thin, add more cream.
Using the right proportions ensures a smooth, delicious creamer every time. Avoid these common mistakes for the best results.
Serving Suggestions
Once you’ve made your own coffee creamer, the next step is to enjoy it. Here are some delightful serving suggestions to elevate your coffee experience. Whether you prefer your coffee hot or iced, homemade creamer can add a rich and creamy touch.
Morning Coffee
Start your day right with a cup of coffee enhanced by your homemade creamer. Simply follow these easy steps:
- Brew your favorite coffee.
- Pour it into your favorite mug.
- Add 2-3 tablespoons of your homemade coffee creamer.
- Stir well and enjoy!
For a special touch, sprinkle some cinnamon or nutmeg on top.
Iced Coffee
On a hot day, iced coffee can be refreshing. Use your homemade creamer to make it even better. Here’s how:
- Brew a strong coffee and let it cool.
- Fill a glass with ice cubes.
- Pour the cooled coffee over the ice.
- Add 2-3 tablespoons of your homemade coffee creamer.
- Stir well and enjoy!
For an extra treat, add a dollop of whipped cream and some chocolate syrup on top.
Frequently Asked Questions
How Is Coffee Creamer Made?
Coffee creamer is made by blending water, sugar, and vegetable oil. Emulsifiers and stabilizers are added for texture. Flavors and colors complete the mixture. The final product is then pasteurized and packaged.
Is It Cheaper To Make Your Own Coffee Creamer?
Yes, making your own coffee creamer is often cheaper. Homemade creamers use basic ingredients, saving money.
What Can I Use As A Substitute For Coffee Creamer?
Use almond milk, coconut milk, oat milk, or soy milk as substitutes for coffee creamer. Unsweetened varieties are best.
What To Put In Coffee For Creamer?
Add milk, half-and-half, or non-dairy options like almond, soy, or oat milk. Use flavored creamers for variety.
What Ingredients Are Needed For Coffee Creamer?
You’ll need milk, cream, sugar, and flavorings like vanilla or hazelnut.
How Do You Make Homemade Coffee Creamer?
Combine milk, cream, sugar, and flavorings in a saucepan. Heat until dissolved. Store in a jar.
Can I Use Non-dairy Milk For Creamer?
Yes, you can use almond, soy, or coconut milk as a non-dairy option.
How Long Does Homemade Creamer Last?
Homemade coffee creamer lasts up to one week in the refrigerator.
Conclusion
Making your own coffee creamer is simple and rewarding. You can customize flavors to suit your taste. With just a few ingredients, you can create a delicious addition to your coffee. Save money and enjoy a healthier option. Try these easy recipes and elevate your coffee experience at home.