

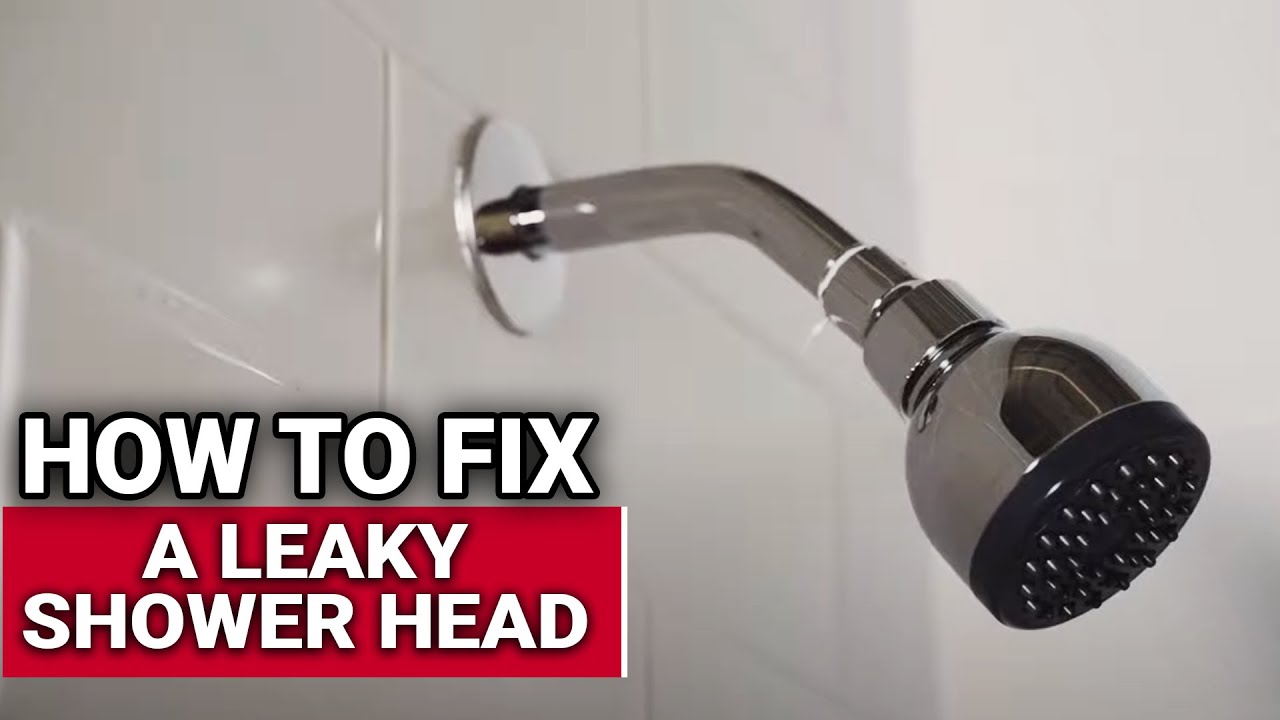
To fix a leaky shower head, first, turn off the water supply. Then, inspect and replace worn-out washers or seals.
A leaky shower head can waste water and increase utility bills. Fixing it is usually straightforward and can save resources. Common causes include worn-out washers, seals, or mineral buildup. Start by turning off the water supply to avoid further leakage.
Then, disassemble the shower head to inspect the internal parts. Replace any damaged washers or seals you find. Reassemble the shower head and turn on the water supply to check for leaks. Regular maintenance can prevent future issues. Keep your shower head clean to avoid mineral buildup and ensure efficient water flow.
:max_bytes(150000):strip_icc()/how-to-fix-a-leaking-shower-head-4154274-hero-96869029aa204b64abe6ecc27bd82d55.jpg)
Identifying The Cause
Fixing a leaky shower head starts with identifying the cause. It’s essential to pinpoint the source of the leak. This helps you find the right solution quickly. Below, we’ll explore the signs and common reasons for a leaky shower head.
Signs Of A Leaky Shower Head
A leaky shower head can manifest in various ways. Here are some signs to look out for:
- Water dripping from the shower head when off
- Unusual sounds like whistling or dripping
- Visible water stains or mold around the shower area
Common Reasons For Leakage
Several factors can cause a shower head to leak. Understanding these reasons can help you fix the issue effectively.
- Worn Out Washer: Over time, washers can wear out and fail to seal properly.
- Mineral Buildup: Hard water can cause mineral deposits, blocking the flow.
- Loose Connections: Connections can become loose due to regular use.
- Damaged O-Ring: The O-ring can crack or break, causing leaks.
Tools And Materials Needed
Fixing a leaky showerhead is an easy task. You need the right tools and materials. This section will guide you on what you need. Let’s get started!
Basic Toolkit
First, gather your basic toolkit. Here are the essential tools:
- Adjustable wrench – For loosening and tightening nuts.
- Plumber’s tape – To seal connections and prevent leaks.
- Screwdriver – To remove or tighten screws.
- Old toothbrush – For cleaning threads and parts.
- Bucket – To catch water drips.
Replacement Parts
Next, you might need some replacement parts. Here are common ones:
- New shower head – If your old one is damaged.
- Rubber washers – To replace worn-out seals.
- O-rings – For fixing leaks in the connections.
- Shower arm – If the old one is corroded or broken.
Ensure all parts match your shower model. Double-check sizes and types. This will save time and effort.
| Tool/Material | Purpose |
|---|---|
| Adjustable wrench | Loosen and tighten nuts |
| Plumber’s tape | Seal connections |
| Screwdriver | Remove or tighten screws |
| Old toothbrush | Clean threads and parts |
| Bucket | Catch water drips |
| New shower head | Replace damaged head |
| Rubber washers | Replace worn-out seals |
| O-rings | Fix leaks |
| Shower arm | Replace corroded/broken arm |
Shutting Off Water Supply
Before fixing a leaky shower head, shutting off the water supply is crucial. This step prevents water damage and ensures a safe working environment.
Safety Precautions
Safety is always the priority. Follow these basic precautions to stay safe:
- Turn off the water supply before starting any repairs.
- Wear gloves to protect your hands from sharp edges.
- Use a flashlight if working in a dim area.
- Keep a towel handy to wipe off any spills.
Locating The Valve
To shut off the water supply, you need to locate the valve:
| Type | Location |
|---|---|
| Main Valve | Near the water meter or in the basement |
| Shower Valve | Behind the shower or in a nearby closet |
Follow these steps to locate and turn off the valve:
- Identify the type of valve you have.
- Use a wrench to turn the valve clockwise.
- Ensure the valve is completely closed.
- Check if the water flow has stopped by turning on the shower.
Now the water supply is off, you can safely fix the leaky shower head.
Dismantling The Shower Head
Fixing a leaky shower head starts by taking it apart. This step is key to identifying any worn-out parts or blockages. Follow these steps to safely dismantle your shower head.
Step-by-step Removal
- Turn off the water supply to the shower.
- Use a cloth to cover the shower head.
- Use a wrench to loosen the shower head.
- Turn the shower head counterclockwise to remove it.
- Place all parts on a towel to avoid losing them.
Handling Components Carefully
Each part of the shower head is important. Handle them with care to avoid any damage.
- Use a soft brush to clean the parts.
- Inspect the rubber washer for any signs of wear.
- Replace any damaged parts with new ones.
If you handle the components carefully, the repair process will be easier. Make sure to keep all the parts organized on a towel.
| Tools Needed | Purpose |
|---|---|
| Wrench | To loosen the shower head |
| Cloth | To protect the shower head |
| Soft Brush | To clean the parts |
| Replacement Parts | To fix any damaged components |
Inspecting For Damage
Before you start fixing your leaky shower head, it’s crucial to inspect for damage. This step helps you identify the root cause of the leak. A thorough inspection can save you time and effort. Follow these steps to ensure you catch every possible issue.
Checking For Wear And Tear
First, examine the shower head closely. Look for visible cracks or splits. Feel the shower head with your hand to detect any rough spots. Check the rubber gasket inside the shower head. A worn-out gasket is a common cause of leaks.
Next, inspect the shower arm. Ensure it’s not loose or wobbly. A loose shower arm can cause water to leak from the joint. Tighten it gently if needed.
Identifying Parts To Replace
Identify which parts need replacing. Common parts include:
- Rubber Gasket: Replace if it’s worn out.
- Shower Head: Replace if cracked or damaged.
- Shower Arm: Replace if it’s bent or rusted.
Follow these steps to make your inspection thorough and effective. This ensures you only replace the faulty parts.
Cleaning And Replacing Parts
Fixing a leaky shower head often involves cleaning and replacing parts. These steps can solve the most common shower head problems. Below, you’ll find a detailed guide on how to clean and replace parts effectively.
Removing Mineral Deposits
Mineral deposits can clog your shower head and cause leaks. Follow these steps to remove them:
- Remove the shower head from the pipe. You may need a wrench.
- Soak the shower head in a bowl of vinegar for at least 30 minutes.
- Use a toothbrush to scrub off any remaining deposits.
- Rinse the shower head with warm water.
- Reattach the shower head to the pipe.
Installing New Components
Sometimes, cleaning isn’t enough. You may need to install new parts:
- Purchase a new showerhead or replacement parts from a hardware store.
- Use the plumber’s tape to wrap the pipe threads. This ensures a tight seal.
- Attach the new shower head or parts to the pipe.
- Ensure all connections are tight to prevent leaks.
- Turn on the water to test the new installation.
By following these steps, you can fix a leaky shower head quickly. Always make sure to use the right tools and materials. This will ensure a lasting repair.
Reassembling The Shower Head
Once you have cleaned and checked all parts, it’s time to reassemble your shower head. This step is crucial to ensure it works properly and doesn’t leak again. Follow these steps carefully to secure all parts and ensure a tight fit.
Securing All Parts
Make sure you have all parts in front of you. Lay them out on a clean cloth or towel. This will help you keep track of everything.
- Start by putting the washer back into place.
- Next, insert the O-ring if your shower head has one.
- Carefully place the filter screen back in its slot.
Double-check to see if you missed any parts. Missing parts can cause leaks.
Ensuring A Tight Fit
Now, screw the shower head back onto the shower arm. Use your hand to turn it clockwise. Make sure it is tight but don’t overdo it.
- If it’s not tight enough, use a wrench.
- Wrap a cloth around the shower head to protect it.
- Gently tighten it with the wrench.
Run the shower to check for leaks. If it leaks, tighten it a bit more.
| Part | Function |
|---|---|
| Washer | Prevents water from escaping |
| O-ring | Seals the connection |
| Filter screen | Keeps debris out |

Testing For Leaks
Testing for leaks in your shower head is crucial. Identifying the source of the problem helps in fixing it effectively. Follow these steps to ensure your shower head is leak-free.
Turning On the Water Supply
Begin by turning on the water supply. Ensure it’s fully open. This helps to detect any leaks easily. Make sure to check both hot and cold water settings. Sometimes, leaks occur only under certain conditions.
Observing For Any Drips
Next, observe the shower head closely. Look for any signs of dripping. Even small drips can indicate a leak. Check the connections and joints carefully. Use a flashlight if needed. Inspect the shower arm and the base of the shower head.
If you notice any drips, take note of their location. This information will help in the repair process. Documenting the exact spots of leakage can save you time later.
Note: Sometimes, leaks are not visible immediately. Allow the water to run for a few minutes. This helps to ensure accurate results. Repeat the observation process if necessary.
Frequently Asked Questions
How Do I Fix A Leaky Shower Head?
To fix a leaky shower head, tighten the connections and replace worn-out washers.
Why Is My Shower Head Leaking?
Your showerhead might be leaking due to worn-out washers or loose connections.
Can A Leaky Shower Head Be Repaired?
Yes, a leaky shower head can often be repaired by tightening connections or replacing faulty parts.
What Tools Do I Need To Fix A Leaky Shower Head?
You’ll need an adjustable wrench, plumber’s tape, and replacement washers or seals.
How Long Does It Take To Fix A Leaky Shower Head?
Fixing a leaky shower head usually takes about 15-30 minutes.
Do I Need To Turn Off Water To Fix A Shower Head?
Yes, turn off the water supply before starting the repair.
Can A Leaky Shower Head Increase My Water Bill?
Yes, a leaky shower head can significantly increase your water bill over time.
What Type Of Washers Should I Use?
Use rubber or silicone washers, which are commonly available at hardware stores.
Is It Better To Repair Or Replace A Leaky Shower Head?
Repairing is usually cost-effective, but replace if the shower head is old or damaged.
Can I Fix A Leaky Shower Head Myself?
Yes, with basic tools and instructions, you can fix it yourself.
Conclusion
Fixing a leaky showerhead is simple with the right steps. Regular maintenance can prevent future leaks. Always have basic tools handy. Address issues promptly to avoid water damage. Enjoy a well-functioning shower and save on water bills. Happy repairing!


