
Diy framing bathroom mirrors is an easy and cost-effective way to upgrade your bathroom decor and add a personalized touch. By following a simple process and using basic tools, you can create a custom frame that complements your style and enhances the overall look of your bathroom.
Whether you have a standard mirror or a large wall-mounted one, framing it yourself allows you to choose the materials, colors, and finishes that suit your taste. With a little time and effort, you can transform the appearance of your bathroom mirror and make it a standout feature in the space.
Selecting The Right Mirror
When it comes to diy framing bathroom mirrors, selecting the right mirror plays a crucial role in enhancing the overall aesthetics of your bathroom. The mirror not only serves a functional purpose but also adds style and personality to the space. Here are a few factors to consider when selecting the perfect mirror for your bathroom.
Consider The Size And Shape
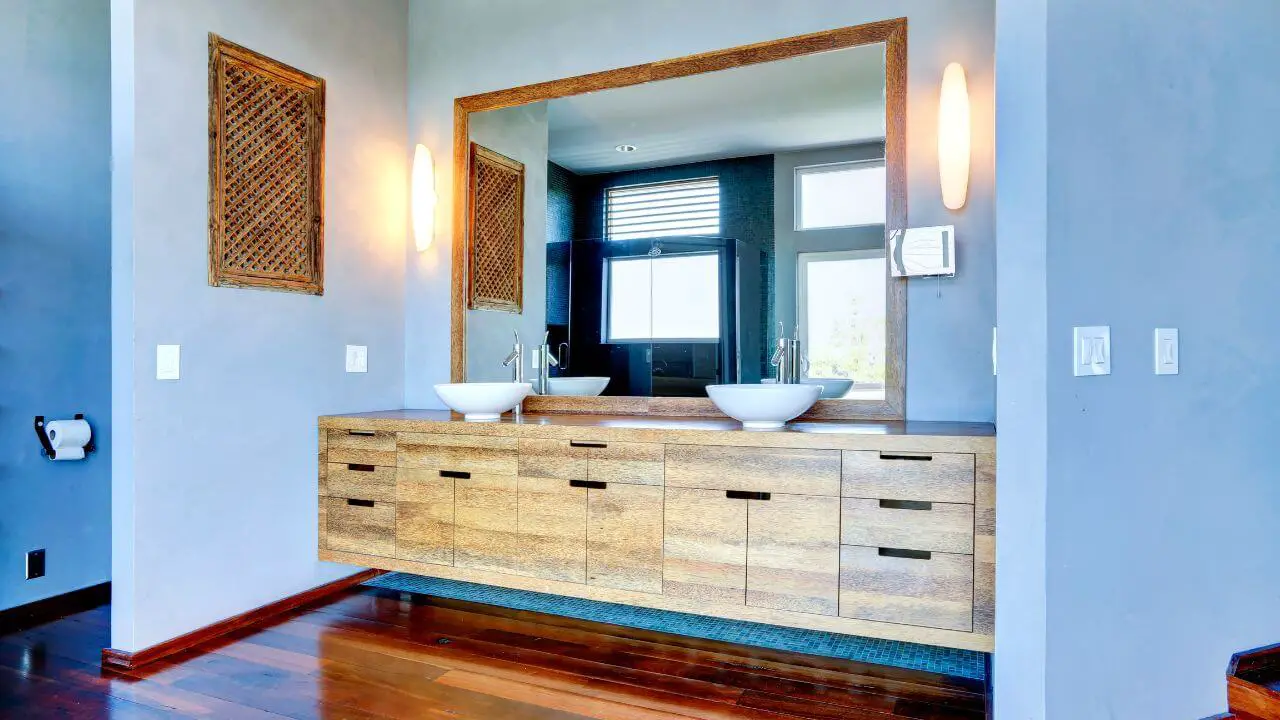
The size and shape of the mirror are essential factors to keep in mind when you are framing your bathroom mirror. Before making a decision, measure the available space on your bathroom wall to determine the size of the mirror that will fit best. Consider the proportions of your bathroom vanity or sink area to ensure that the mirror complements the overall design. Additionally, think about the shape of the mirror—round, oval, rectangular, or square—which can add visual interest and create a unique focal point in your bathroom.
Choose The Frameless Mirror Option
Opting for a frameless mirror is a fantastic choice when framing your bathroom mirror. Frameless mirrors offer a sleek and modern look, making them a versatile option that can seamlessly blend with any bathroom style. With a frameless mirror, you have the flexibility to customize the frame design or leave it as is for a minimalist and clean aesthetic.
Frameless mirrors also create an illusion of more space, which can be especially advantageous for smaller bathrooms. By considering the size, shape, and frameless option, you can select the perfect mirror to bring style and functionality to your bathroom. With the right mirror in place, you’ll be able to enjoy a beautifully framed reflection every time you step into your bathroom.
Choosing The Perfect Frame
When it comes to framing bathroom mirrors, choosing the perfect frame is an essential step in achieving a stylish and functional space. The right frame can elevate the overall aesthetic of the bathroom while also providing durability and practicality. In this section, we will explore important factors to consider when selecting the ideal frame for your bathroom mirror.
Determine The Style And Finish
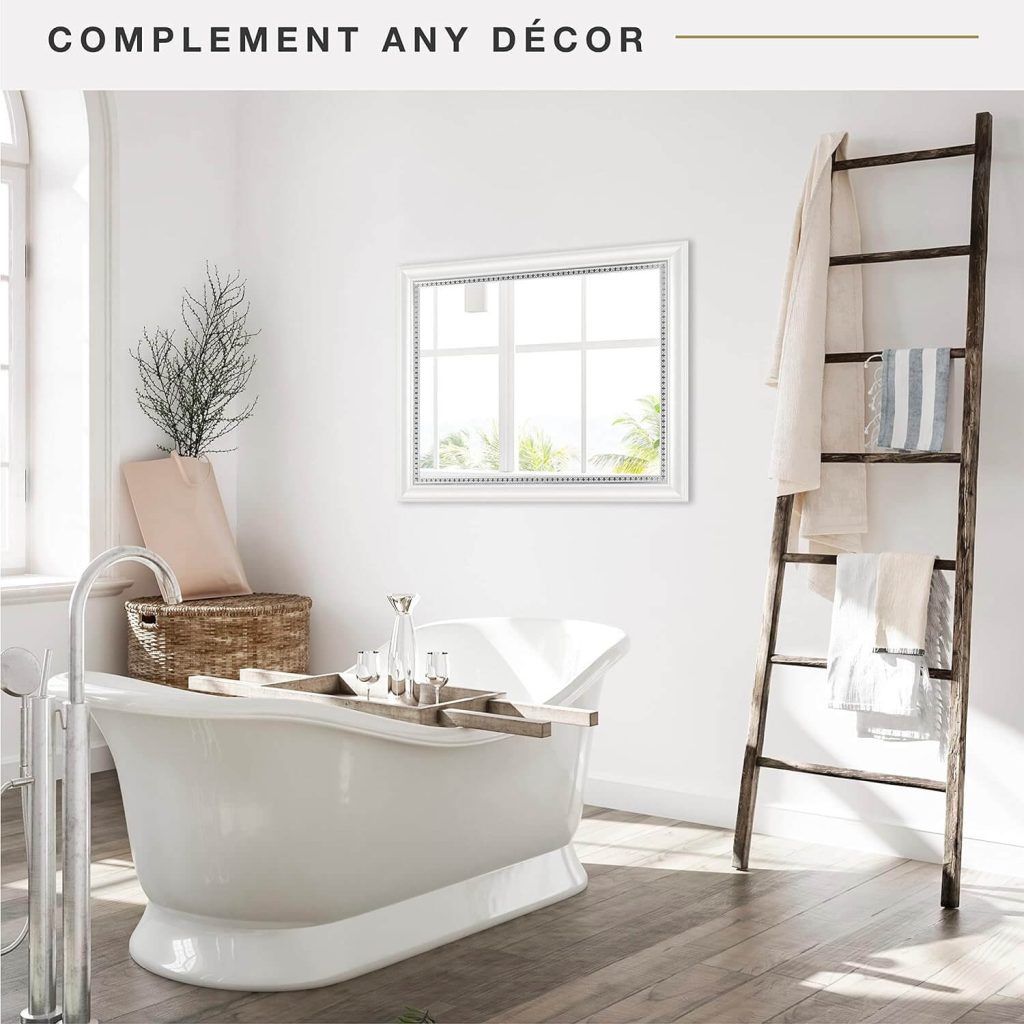
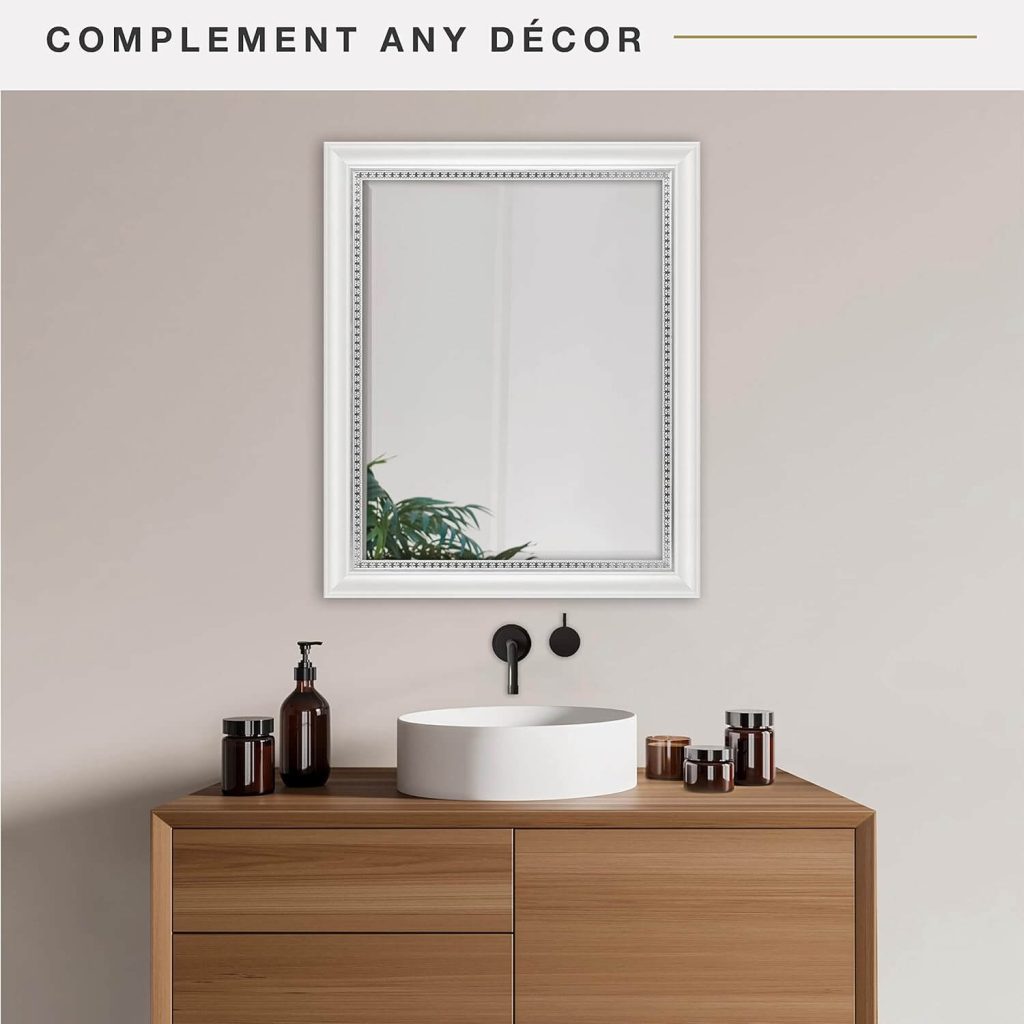
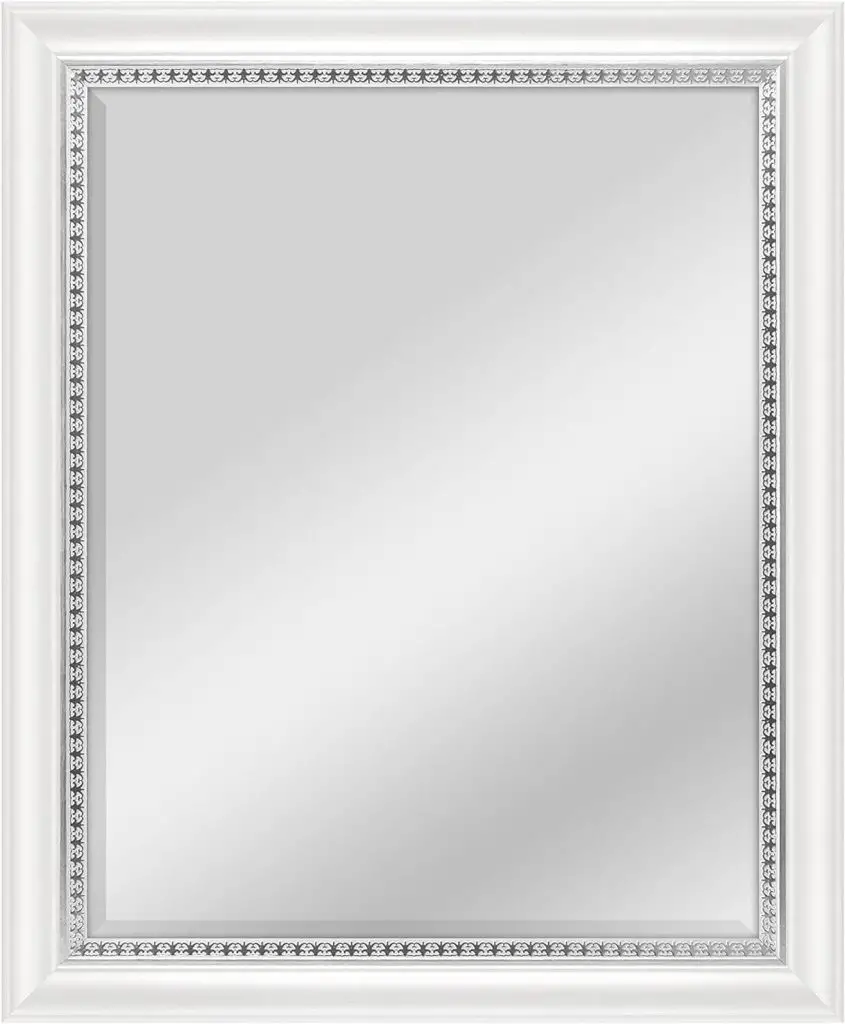
Style and finish play a crucial role in enhancing the overall ambiance of your bathroom. Consider the existing decor and theme of your bathroom and choose a frame that complements it seamlessly. Whether your bathroom follows a contemporary, rustic, or traditional design, there are various styles and finishes available to suit your preferences. Here are a few key points to keep in mind:
- For a sleek and modern look, opt for frames with clean lines and a polished finish.
- If your bathroom has a rustic or farmhouse theme, explore frames made of distressed wood or wrought iron with earthy tones.
- For a touch of elegance, consider frames with intricate designs and luxurious metallic finishes like gold or silver.
By carefully determining the style and finish of your frame, you can create a cohesive and visually appealing bathroom space.
Consider The Material And Durability
Choosing a frame material that can withstand the humid environment of a bathroom is essential to ensure its long-term durability. Bathrooms are prone to moisture and fluctuations in temperature, so it’s important to select a material that can resist warping, cracking, or damage caused by water. Here are a few materials known for their durability:
| Material | Description |
|---|---|
| Wood | Opt for solid wood or moisture-resistant engineered wood finishes that can withstand the bathroom environment. |
| Metal | Choose metal frames made of stainless steel or aluminum, as they are resistant to corrosion and moisture damage. |
| Plastic | Consider high-quality plastic frames specially designed for bathroom use, as they are resistant to water damage and easy to clean. |
When choosing the material, also consider the maintenance requirements. Some materials may require more frequent cleaning or special treatments to keep them looking their best.
Measuring And Cutting The Frame
Learn how to measure and cut the frame for your DIY bathroom mirror project. This step-by-step guide will help you achieve a professional-looking result.
Measure The Mirror Dimensions
Before you can start cutting the frame pieces for your DIY framing bathroom mirrors, it’s essential to measure the mirror dimensions accurately. This step will ensure that the frame fits perfectly and enhances the overall look of your mirror. To measure the mirror dimensions, follow these simple steps:
- Using a measuring tape, measure the width of your mirror from one edge to the other. Write down this measurement.
- Next, measure the height of the mirror from top to bottom. Note down this measurement as well.
Once you have the width and height measurements, you’ll be ready to cut the frame pieces to size.
Cut The Frame Pieces To Size
Now that you have the mirror dimensions handy, it’s time to cut the frame pieces for your bathroom mirror. Follow these steps to ensure precise cuts:
- Using a miter saw or a similar cutting tool, cut two frame pieces to match the width of your mirror. Remember to account for any desired overlaps or gaps between the mirror and the frame.
- Next, cut the other two frame pieces to match the height of your mirror. Again, consider any desired overlaps or gaps.
- Make sure to cut the frame pieces at a 45-degree angle for a clean and professional look. This angle will create seamless corners when the frame is assembled.
- Double-check the measurements before making any cuts to avoid any mistakes.
By following these steps and cutting the frame pieces accurately, you’ll be on your way to creating a beautiful and customized bathroom mirror frame.
- Cost-Effective: DIY framing can be more budget-friendly than purchasing pre-framed mirrors.
- Customization: DIY allows for personalized frame choices to match your bathroom decor.
- Creative Expression: You can express your creativity through various frame designs and finishes.
- Upcycling: Repurposing old frames or materials can contribute to a sustainable and eco-friendly approach.
- Skill Requirement: Framing may require some woodworking or crafting skills.
- Time-Consuming: DIY projects can take more time compared to buying pre-framed mirrors.
- Tools and Materials: You may need to invest in tools and materials, which could be an additional cost.
- Risk of Damage: There’s a risk of damaging the mirror during the framing process if not done carefully.
Assembling And Installing The Frame
If you’re looking to give your bathroom a makeover, framing your bathroom mirror is a simple yet impactful DIY project that can elevate the overall look and style. The process involves assembling and installing a frame around the mirror, transforming it from a plain and basic feature to a statement piece that enhances the entire space. In this guide, we’ll walk you through the steps of sanding and painting the frame, as well as attaching it to the mirror.
Sand And Paint The Frame
Before attaching the frame to the mirror, it’s essential to prepare it by sanding and painting. This step ensures that the frame is smooth, free of imperfections, and matches your desired color and finish. Follow these steps to achieve a professional-looking result:
- Start by sanding the frame using fine-grit sandpaper. This will help remove any rough edges, splinters, or uneven surfaces.
- Once the frame is sanded, wipe it clean with a damp cloth to remove any dust or debris.
- Next, apply a coat of primer to the frame. Primer not only helps the paint adhere better but also prevents the wood from absorbing too much paint, ensuring an even and vibrant finish.
- After the primer has dried, it’s time to apply the final coat of paint. Choose a paint color that complements your bathroom decor and style. Whether you prefer a classic white frame or a bold pop of color, make sure to apply the paint evenly and allow sufficient drying time between coats.
- For added protection and durability, consider applying a sealant or clear coat over the painted frame. This will help protect the paint from moisture and everyday wear and tear.
Attach The Frame To The Mirror
Now that your frame is sanded and painted to perfection, it’s time to attach it to the mirror. Follow these steps to ensure a secure and seamless installation:
- Place the frame carefully against the mirror, ensuring it is centered and aligned properly.
- Using a drill or screwdriver, insert screws or nails through the frame into the wall, ensuring they are securely fastened. Consider using wall anchors or brackets for added stability, especially if your mirror is heavy.
- If you prefer a seamless look, you can also use a strong adhesive or construction-grade adhesive tape to attach the frame to the mirror. Apply the adhesive evenly along the back of the frame, then firmly press it against the mirror.
- Once the frame is attached, use a level to ensure it is straight and aligned properly.
- Finally, step back and admire your newly framed bathroom mirror. The frame will not only add a touch of elegance to the space but also create the illusion of a larger and more polished bathroom.
With these simple steps, you can easily assemble and install a frame for your bathroom mirror, transforming it into a stunning focal point. Remember to take your time, pay attention to detail, and enjoy the process of enhancing your bathroom with this DIY project.
Adding Final Touches
Once you have successfully framed your bathroom mirror with a touch of DIY magic, it’s time to add those final touches that will elevate the overall look and ensure a professional finish. Follow these simple steps to complete your project and achieve a polished result.
Caulk The Edges
After securing the frame to your bathroom mirror, the next step is to caulk the edges. Caulking helps to seal any gaps between the frame and the mirror, giving it a seamless appearance and protecting against water damage. Here’s how to go about it:
- Cut the tip of your caulk tube at a 45-degree angle to create a small hole.
- Insert the caulk tube into a caulking gun, squeezing it gently to apply an even bead of caulk along the edge of the frame.
- Using a caulk smoothing tool or your finger, smooth the caulk to create a neat finish.
- Wipe away any excess caulk with a damp cloth.
Allow the caulk to dry completely before moving on to the next step. This simple task will not only enhance the aesthetic appeal of your framed bathroom mirror but also provide a protective barrier against moisture and prevent any potential damage.
Clean And Polish The Mirror
Now that you’ve caulked the edges, it’s time to give your bathroom mirror a thorough clean and polish. This will remove any smudges, fingerprints, or dust that may have accumulated during the framing process. Follow these steps to get your mirror sparkling:
- Start by using a mild glass cleaner or a solution of equal parts water and vinegar.
- Spray the cleaner onto a clean, lint-free cloth.
- Gently wipe the mirror surface in a circular motion, ensuring you cover the entire area.
- For stubborn stains, apply a small amount of rubbing alcohol onto the cloth and rub gently until the stain is removed.
- Finally, use a dry, lint-free cloth to buff the mirror until it shines.
Be mindful not to use abrasive cleaners or rough materials that could scratch the mirror. Regularly cleaning and polishing your bathroom mirror will not only enhance its functionality but also ensure it remains an attractive focal point of your bathroom.
Frequently Asked Questions Of Diy Framing Bathroom Mirrors
How Do You Frame A Bathroom Mirror?
Framing a bathroom mirror is easy. Measure the mirror, cut the frame to size, and attach it using adhesive.
What Materials Do I Need For Framing A Bathroom Mirror?
To frame a bathroom mirror, you’ll need a frame kit, measuring tape, a saw, adhesive, and a level.
Can I Frame A Mirror Without Removing It From The Wall?
Yes, you can frame a bathroom mirror without removing it from the wall. The frame is attached directly to the mirror.
How Long Does It Take To Frame A Bathroom Mirror?
Framing a bathroom mirror can typically be done in an hour or two, depending on your skill level and the size of the mirror.
Are There Different Frame Styles And Finishes Available?
Yes, there are various frame styles and finishes available for bathroom mirrors, including wood, metal, and decorative options.
Will Framing A Bathroom Mirror Damage The Mirror?
No, framing a bathroom mirror will not damage the mirror if done correctly. The frame is attached to the edges, not the front.
Can I Customize The Frame To Match My Bathroom Decor?
Yes, you can customize the frame to match your bathroom decor by choosing the right frame style, color, and finish.
How Do I Ensure The Frame Is Level And Straight?
To ensure the frame is level and straight, use a level and measure carefully before attaching the frame to the mirror.
What Are The Benefits Of Framing A Bathroom Mirror?
Framing a bathroom mirror can enhance the overall look of your bathroom, add a personalized touch, and increase the value of your home.
Can I Frame A Mirror That Has A Beveled Edge?
Yes, you can frame a bathroom mirror with a beveled edge. Simply measure and cut the frame to fit around the beveled edge.
Conclusion
Framing bathroom mirrors is a simple and affordable DIY project that can transform the look of your bathroom. With just a few tools and materials, you can add a touch of elegance and style to your space. Whether you choose a modern, rustic, or vintage frame, the possibilities are endless. So go ahead, get creative, and give your bathroom mirror a well-deserved makeover. diy framing bathroom mirrors


